ThingsOnEdge Cricket IoT Moisture Sensor with Home Assistant
My first foray into IoT soil moisture sensing. Describes calibrating a moisture sensor, connecting it to a Cricket IoT esp32 board, and receiving mqtt moisture readings on Home-Assistant.
This post isn’t very interesting narrative-wise. My intention is to document some of the different pieces and configurations I stitched together to get this project sort-of working. When I was learning about these things, I remember wanting moar photos and moar implementation details. So here goes.
If there’s a part you’d like more details on, open an issue on github (link at the bottom of this page) or send me an email, and I’ll queue it.
I got a handful of ThingsOnEdge Cricket IoT Wi-Fi devices.

Image from ThingsOnEdge Cricket product page
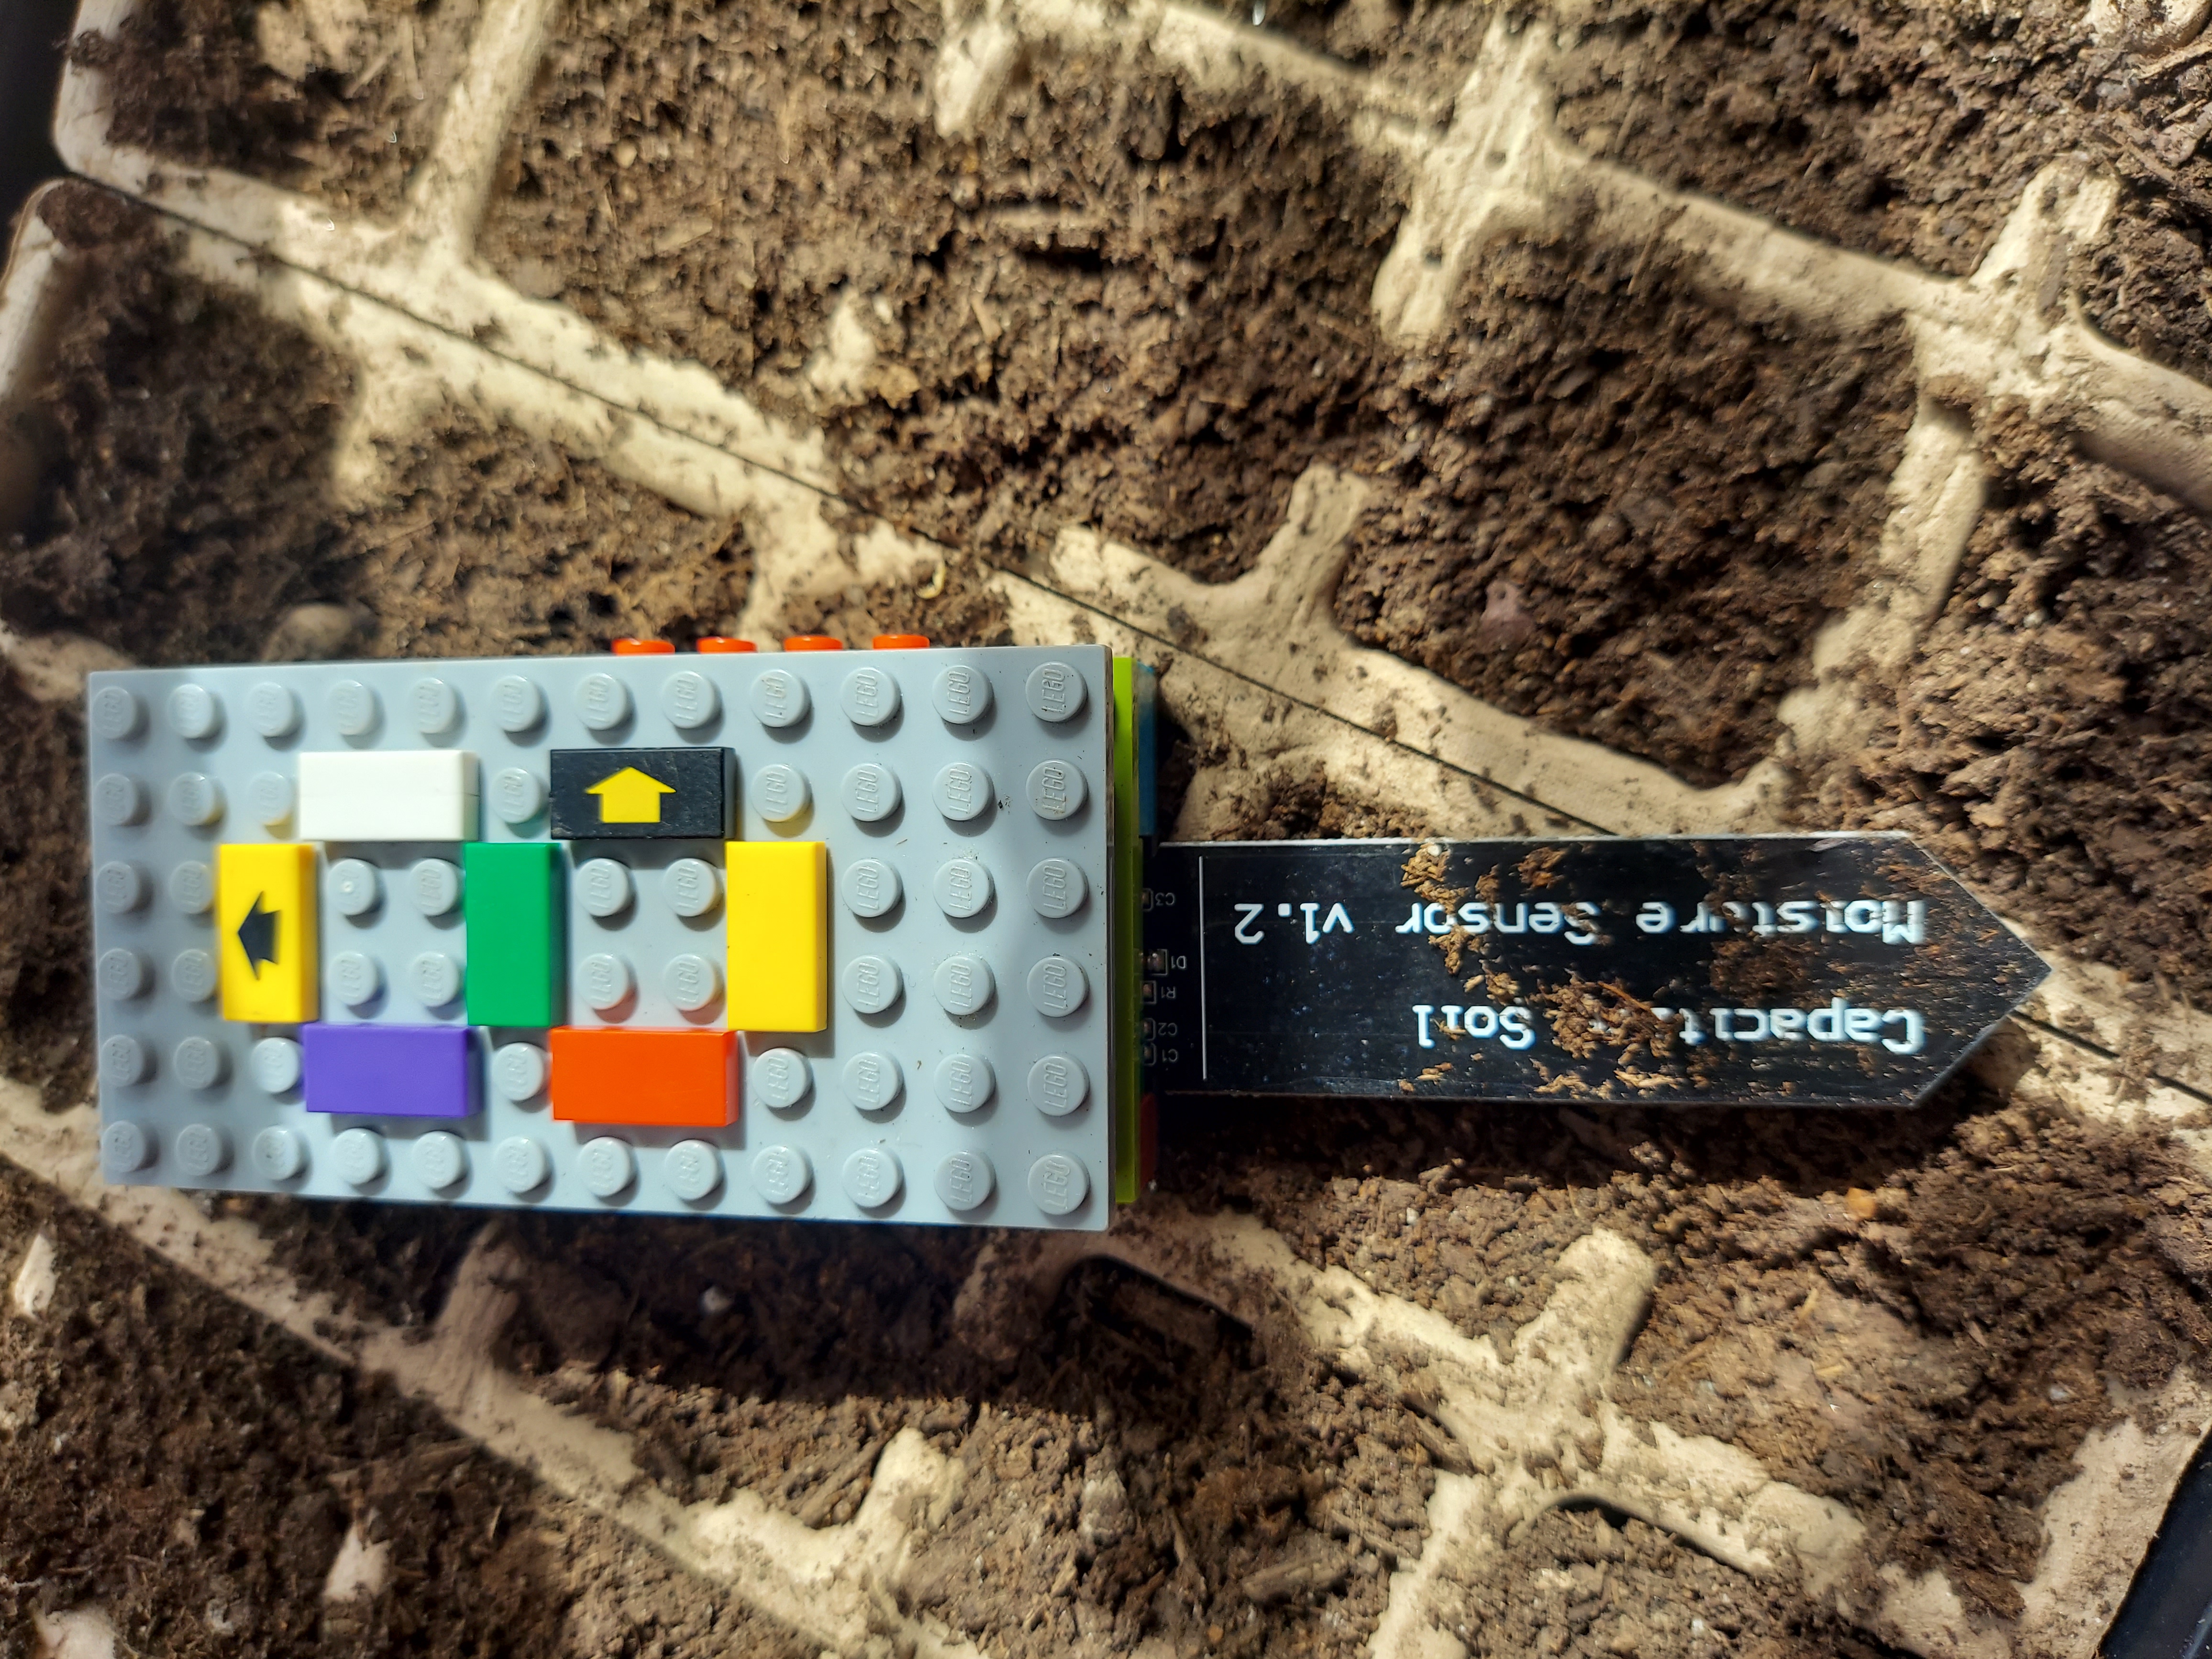
I also got some capacitive soil moisture sensors. I painted the top and sites with clear nail polish.
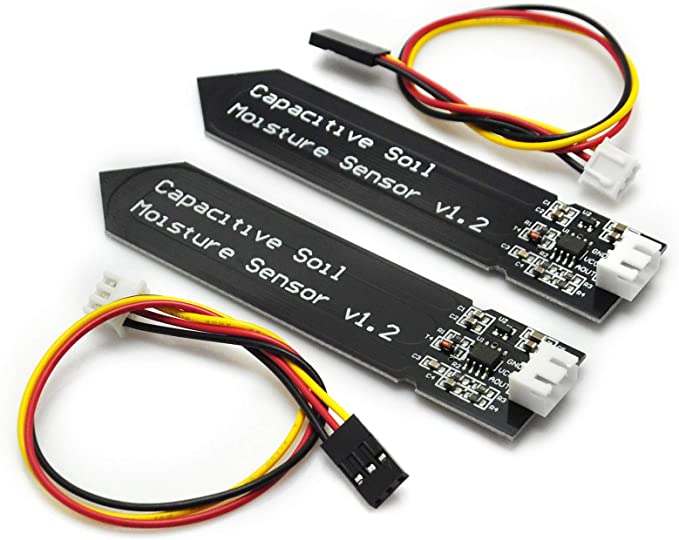
Image from Amazon store listing
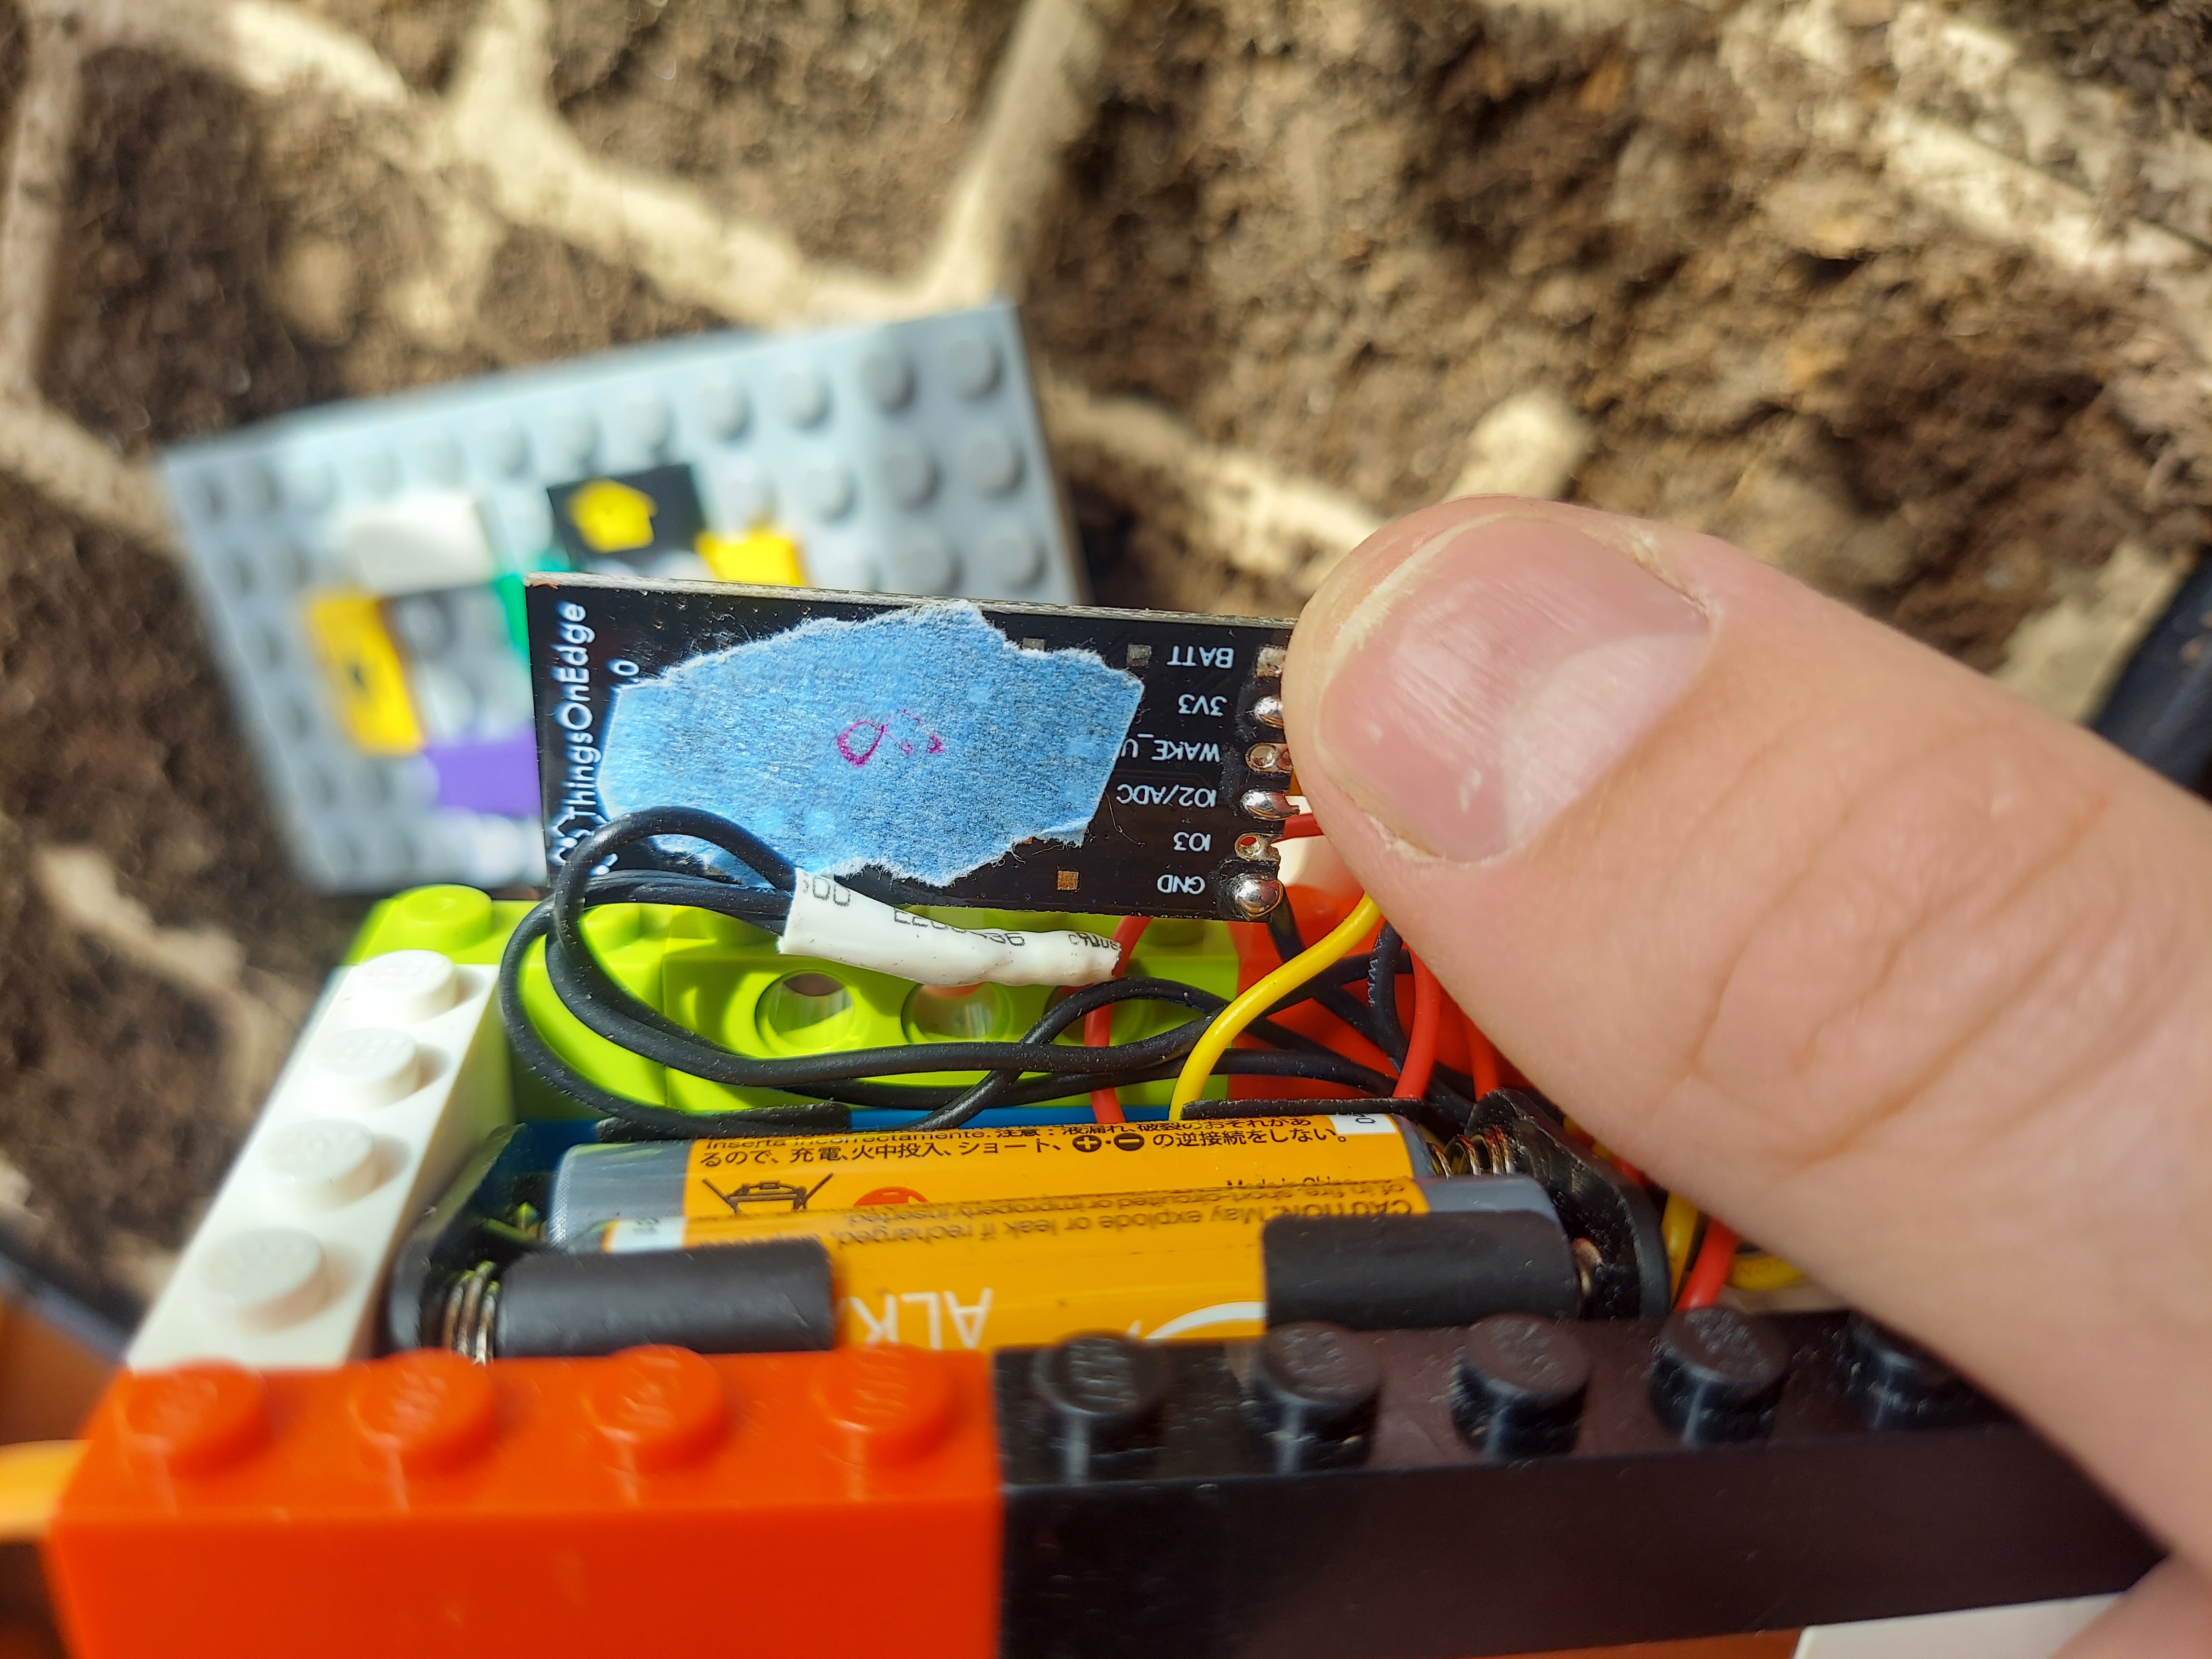
I connected these to IO2 on the Cricket, and configured the cricket to read these as (digital/analog). Post via MQTT to a local broker (see my broker Docker config on github).

Config for ThingsOnEdge Cricket as soil moisture probe
Calibrated the sensor by baking a sample of our soil at ~200 degrees fahrenheit
until totally dry. Got IO2 readings directly from the MQTT broker for totally dry soil (93) and for sopping-wet soil (52). The IO2 readings is a representation of the ratio of the analog input voltage against the Cricket’s reference voltage of 3.5V. The ratio is scaled by the configured resolution – 8 bits, in my case – so that the max IO2 value is 255. The formula is: Vin = (Vref / 2**resolution) * IO2
In my case, my IO2 reading of 93 came from an analog voltage reading of 1.27V, and my reading of 52 came from a reading of 0.71V. (see explanation in the cricket docs)
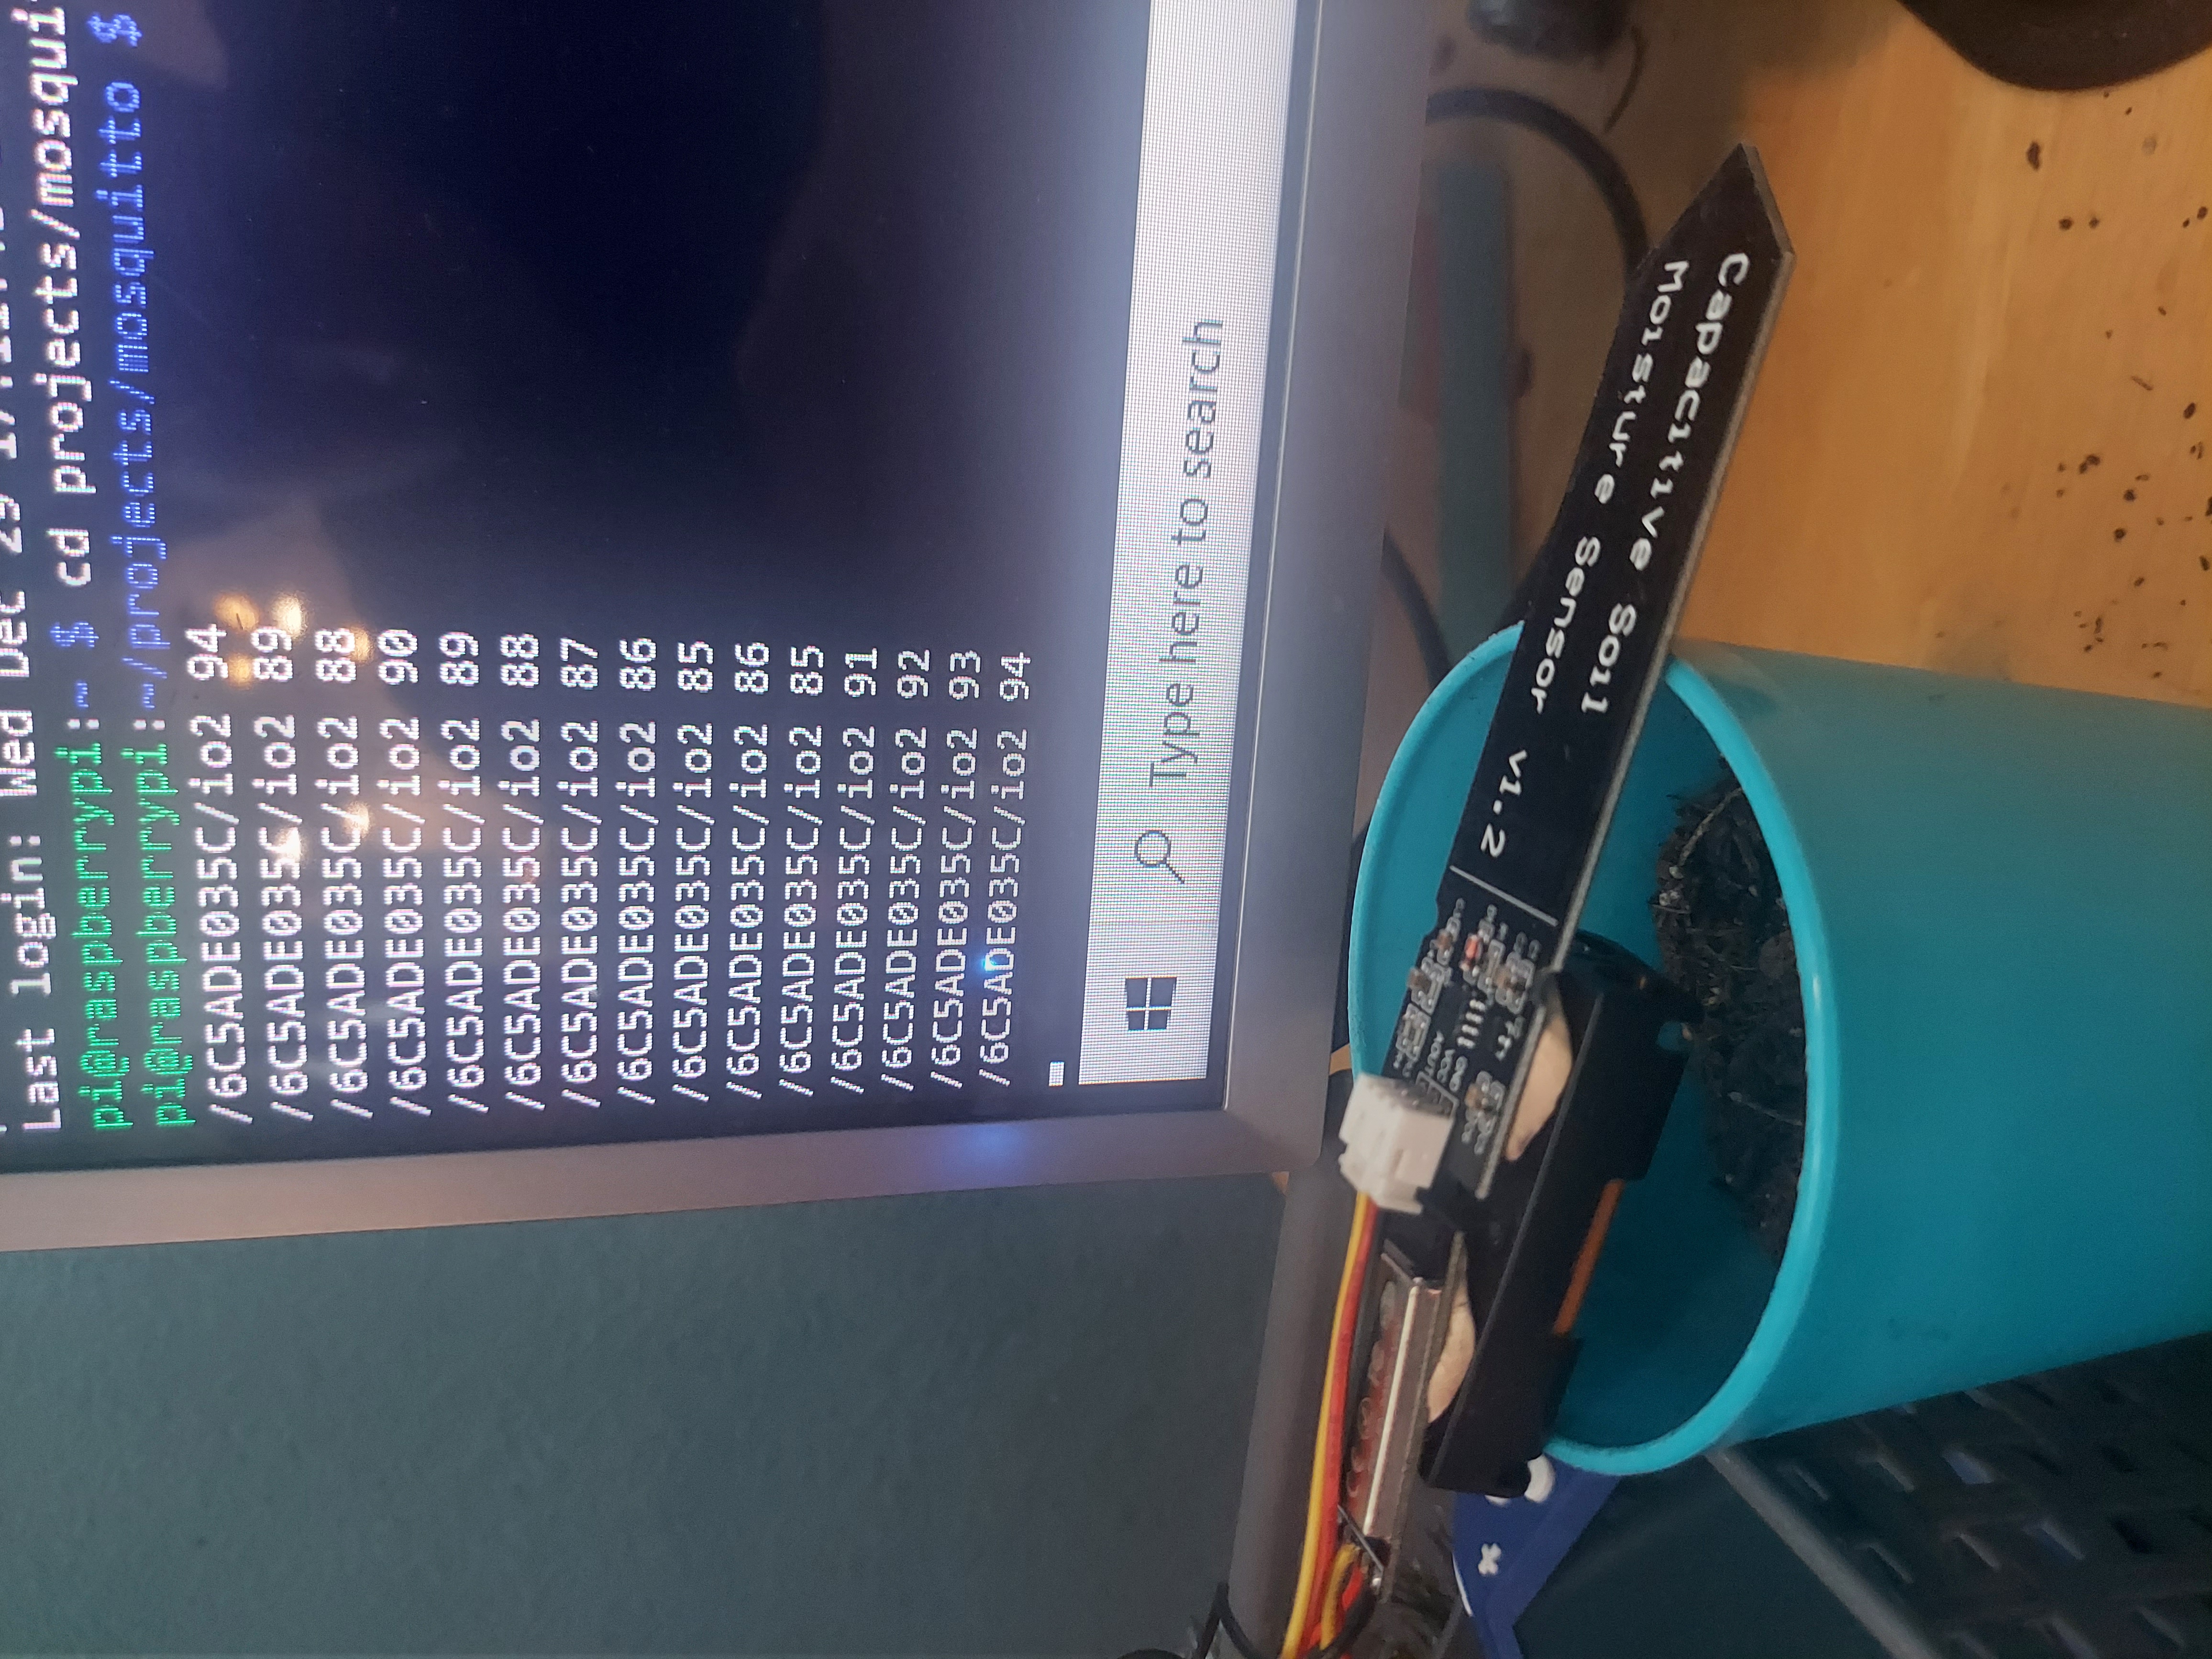
IO2 readings for air stabilized at 94
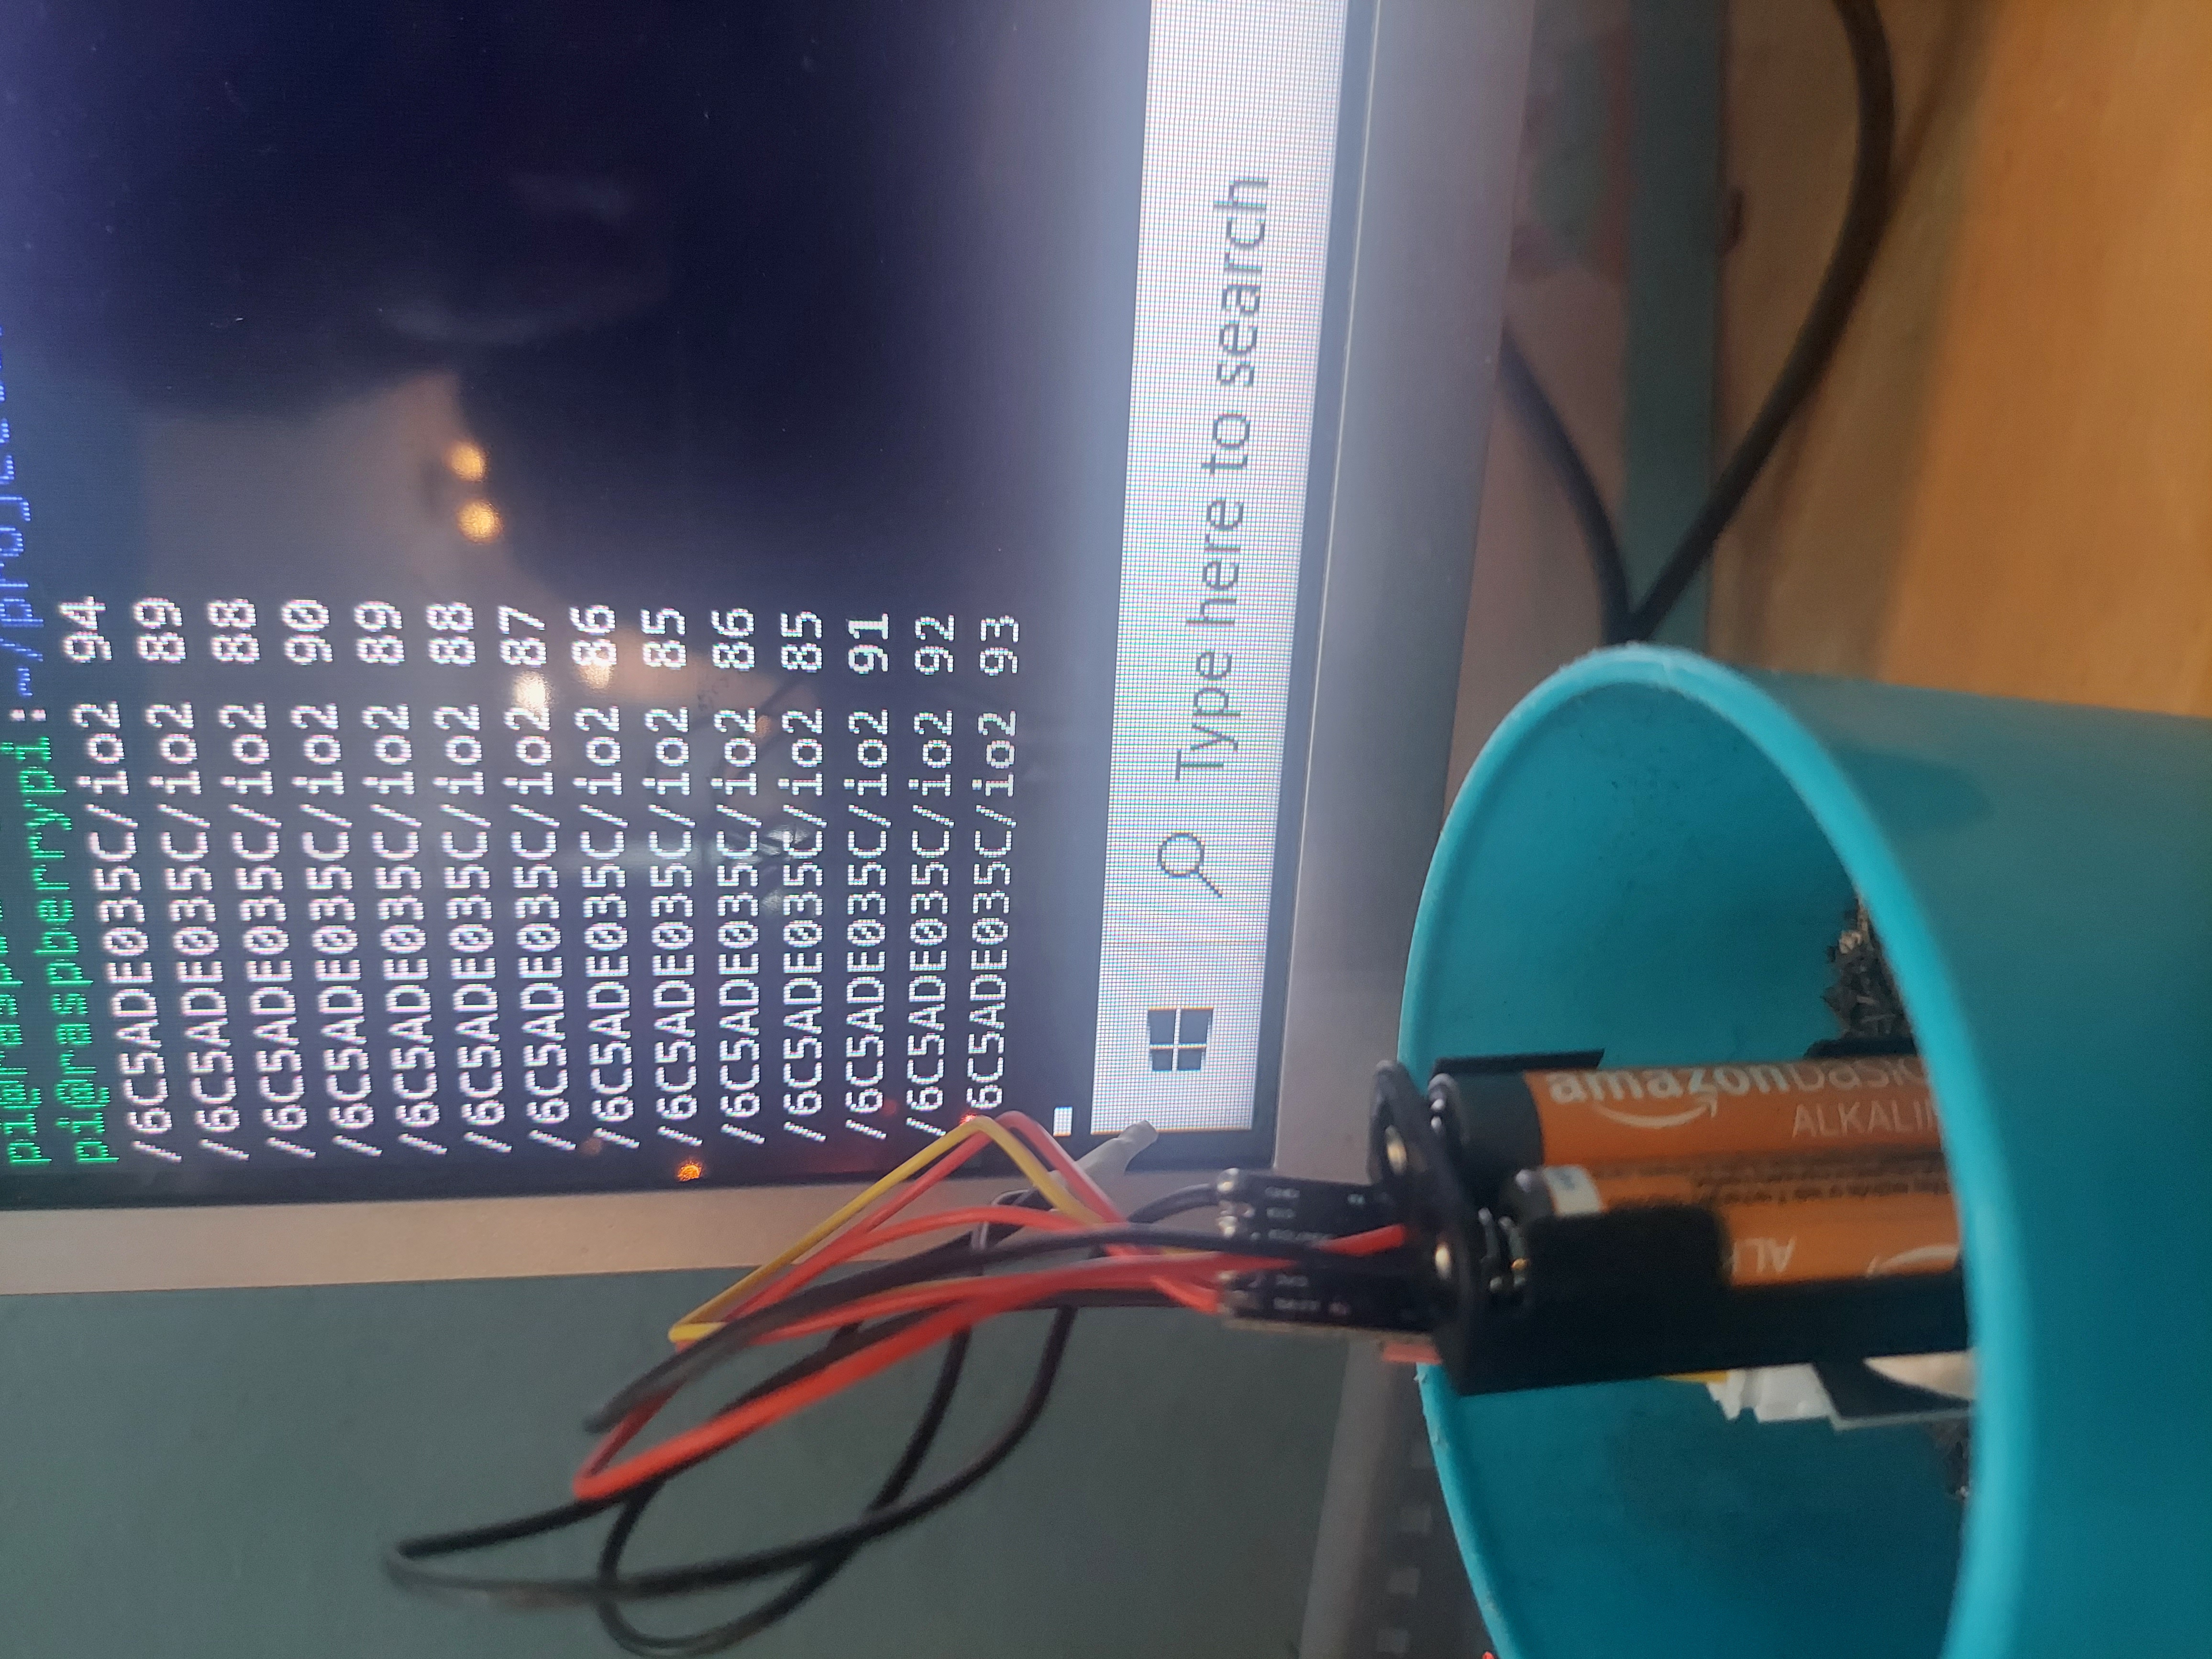
IO2 readings for baked soil stabilized at 93
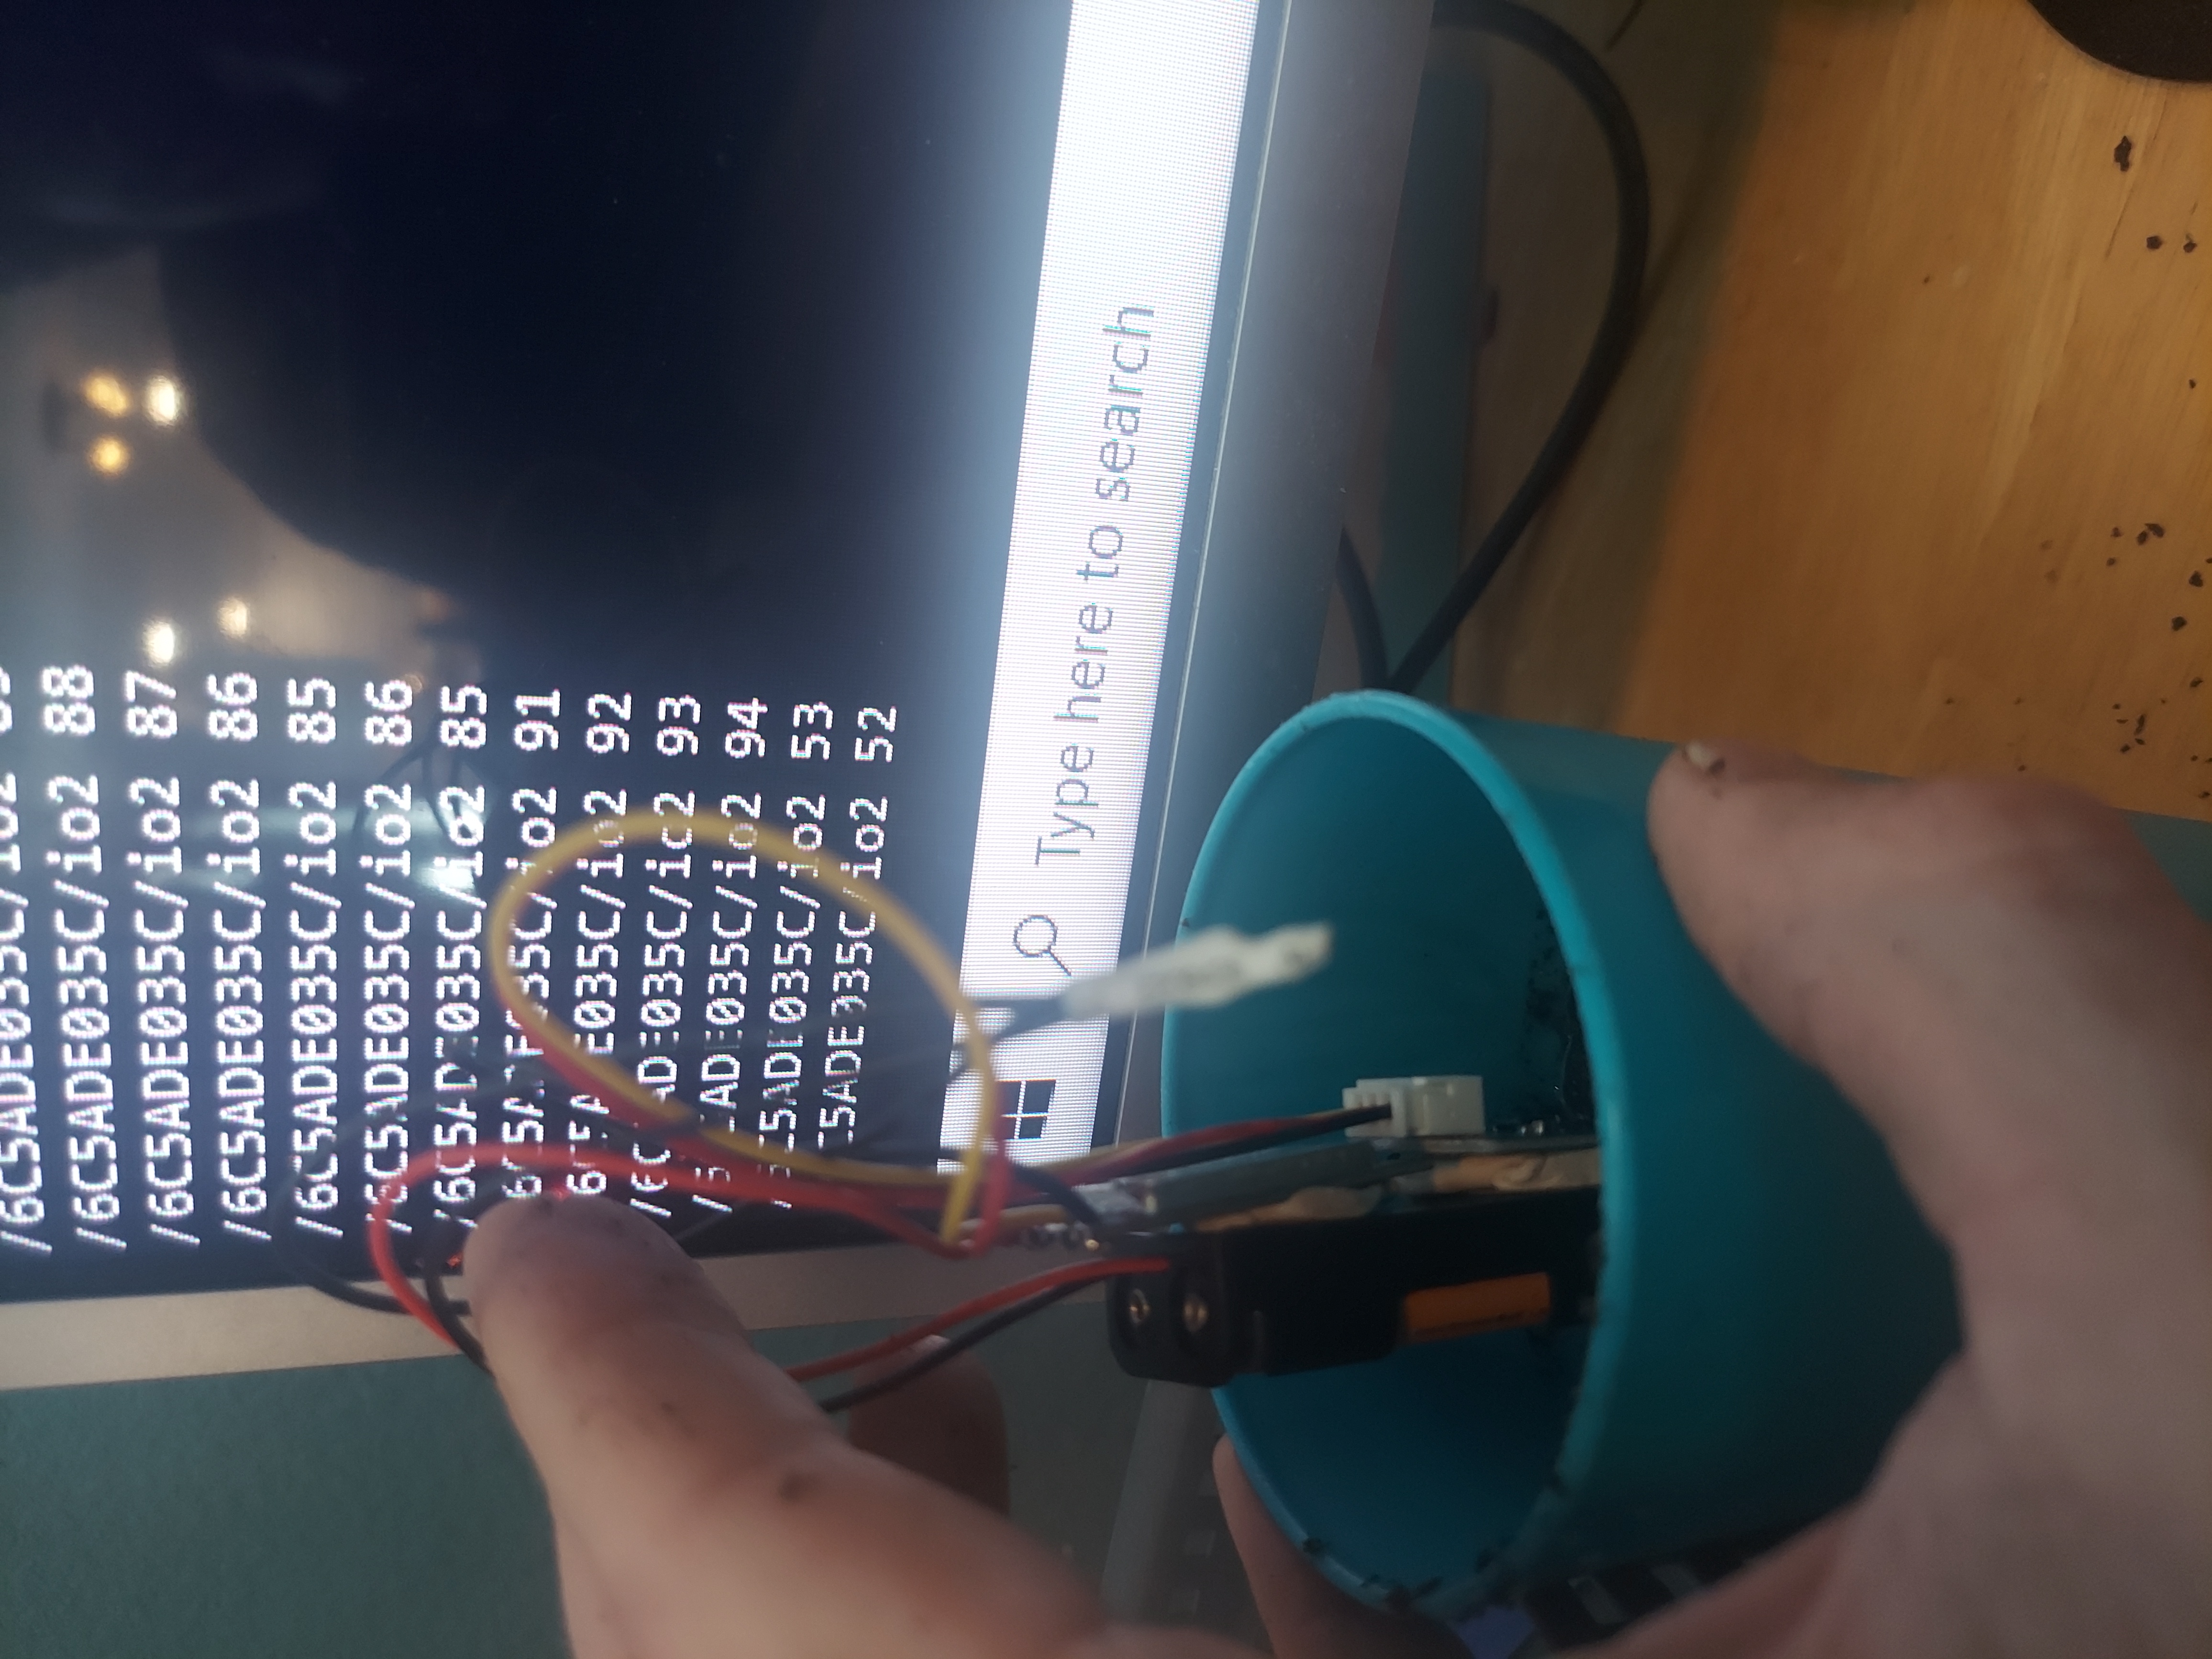
IO2 readings for sopping wet soil stabilized at 52
Configure Home-Assistant to read the posted MQTT io2 values. Configured a Compensation integration to scale the dry/wet readings to 0/100%.
sensor:
-  platform: mqtt
   name: cricket8_moisture
   state_topic: "/cricket8/io2"


compensation:
  cricket8_moisture_compensation:
    unique_id: cricket8_moisture_compensation
    source: sensor.cricket8_moisture
    unit_of_measurement: '%'
    data_points:
      - [93, 0]
      - [52, 100]
Configured a plant component, which also displays battery and temperature readings
from the cricket.
plant:
  cricket8_plant:
    sensors:
      moisture: sensor.compensation_sensor_cricket8_moisture
      battery: sensor.cricket8_battery
      temperature: sensor.cricket8_temp
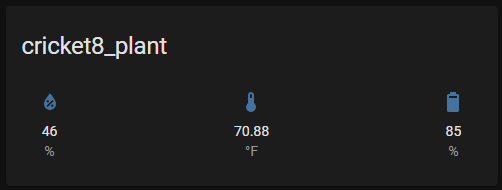
A simple dashboard entry created by the Plant component showing reported soil moisture, temperature, and battery.
Dropped a small aquarium pump like this one from ebay into the watering can, and connected drip line from it to emitters in the top of the plant tower. Plugged the pump into a Sonoff S31 wifi outlet switch.
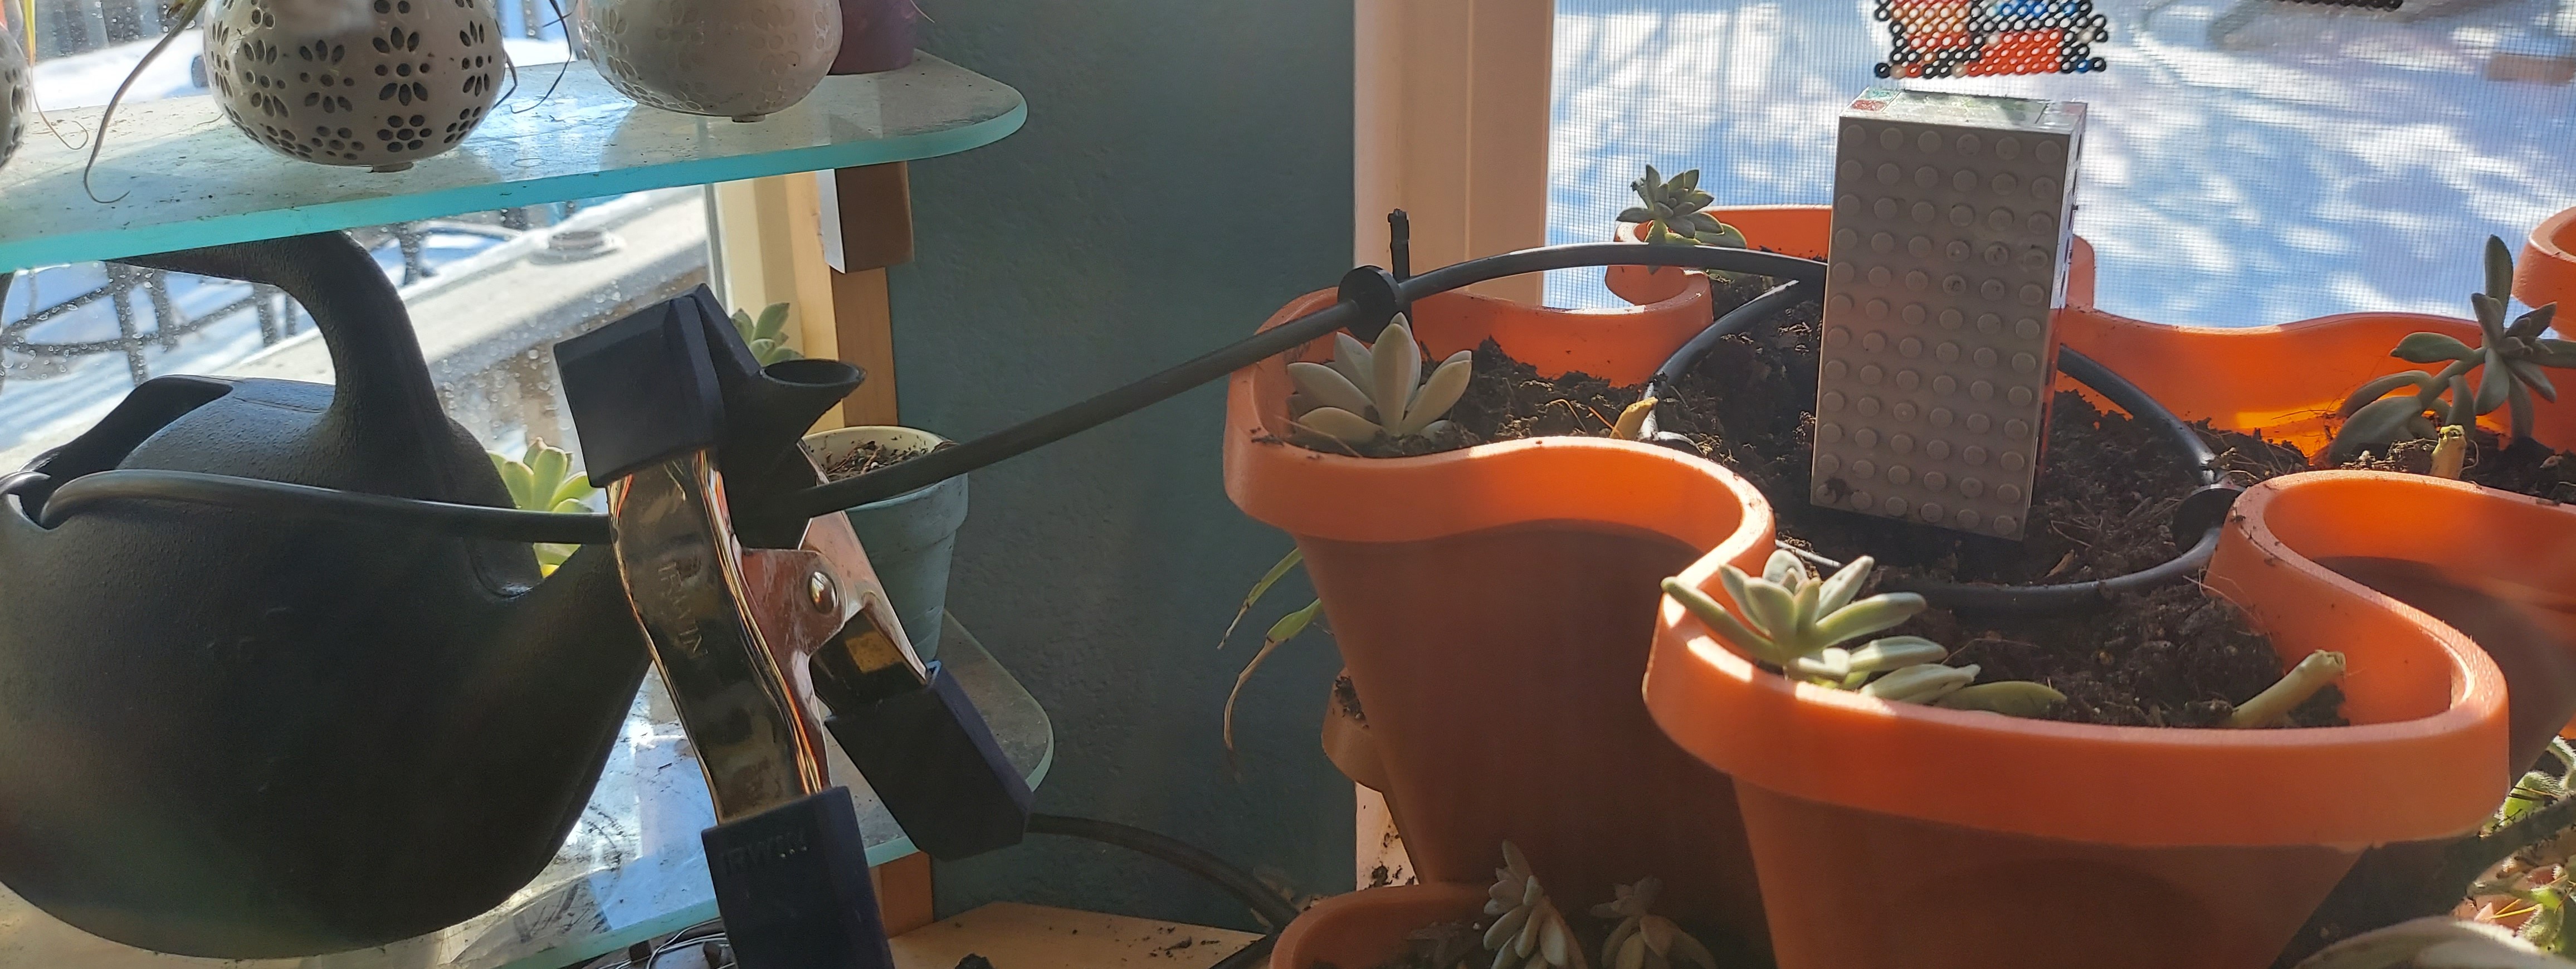
Podunk irrigation is podunk.
Flashed tasmota on the switch, connected it to home-assistant via MQTT. The below image shows flashing a Wyze plug. These were really hard to open! I recommend the sonoffs over these.
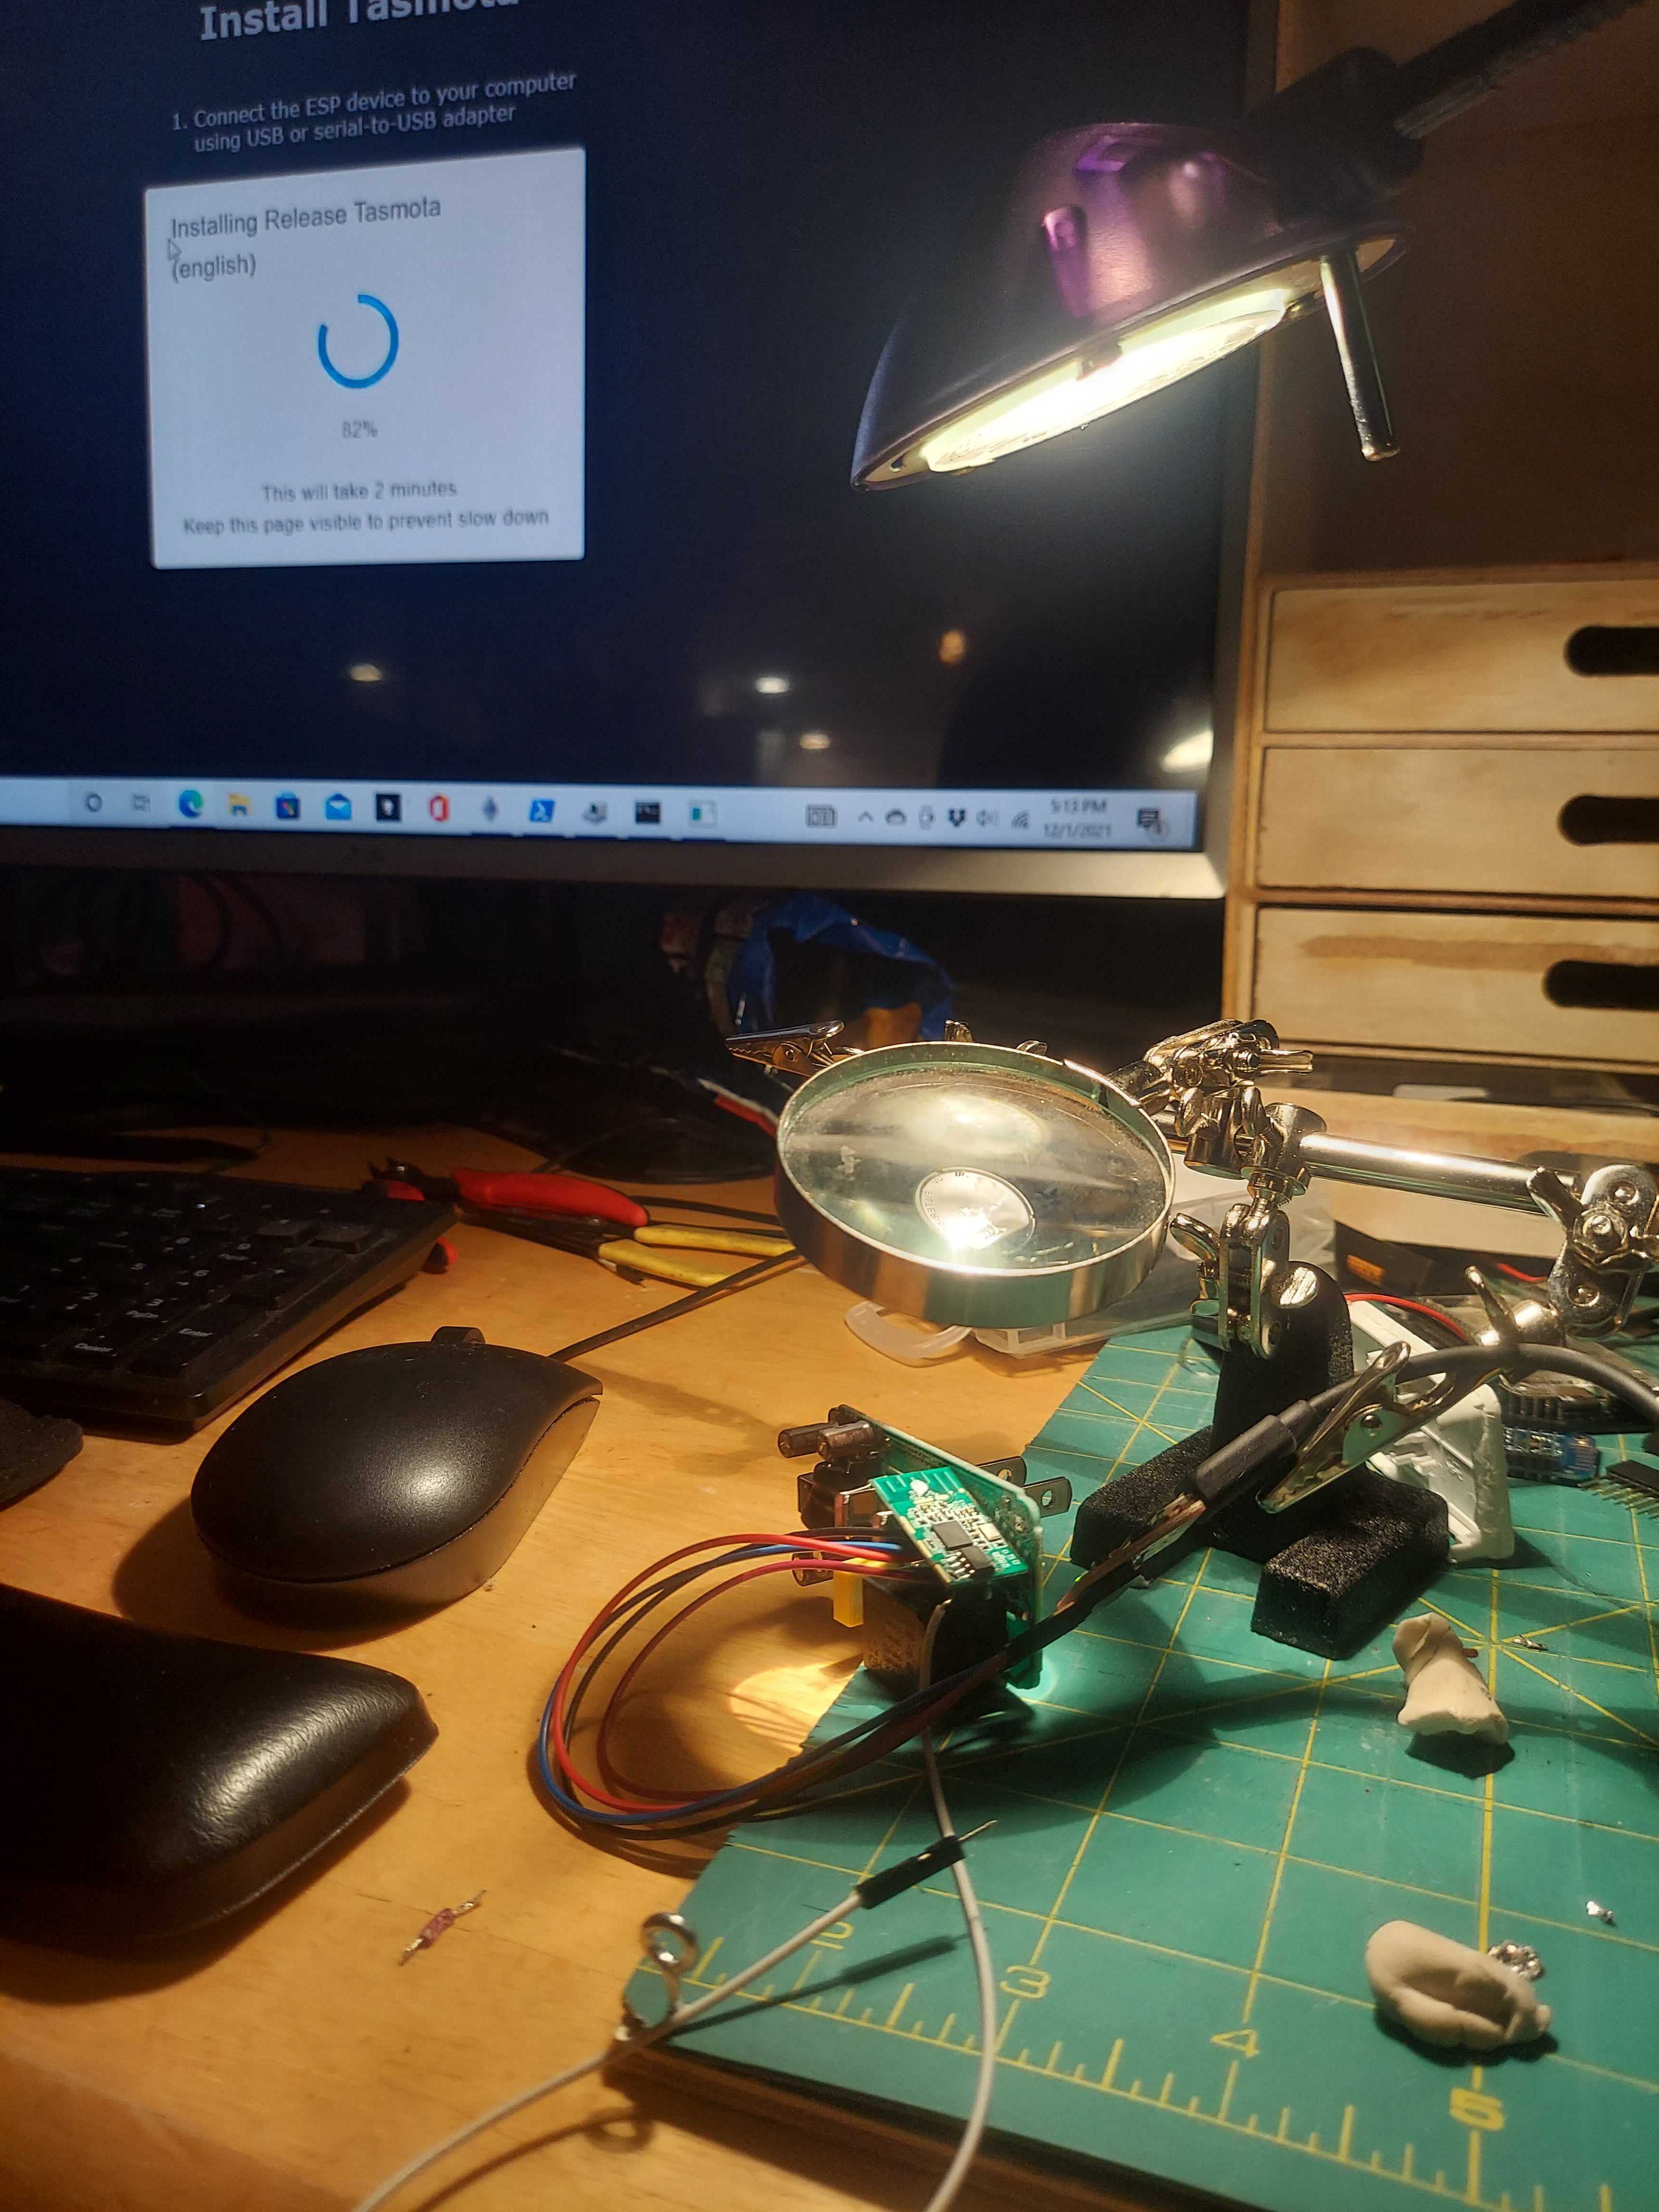
Using the tasmota web flasher on a Wyze smart plug.
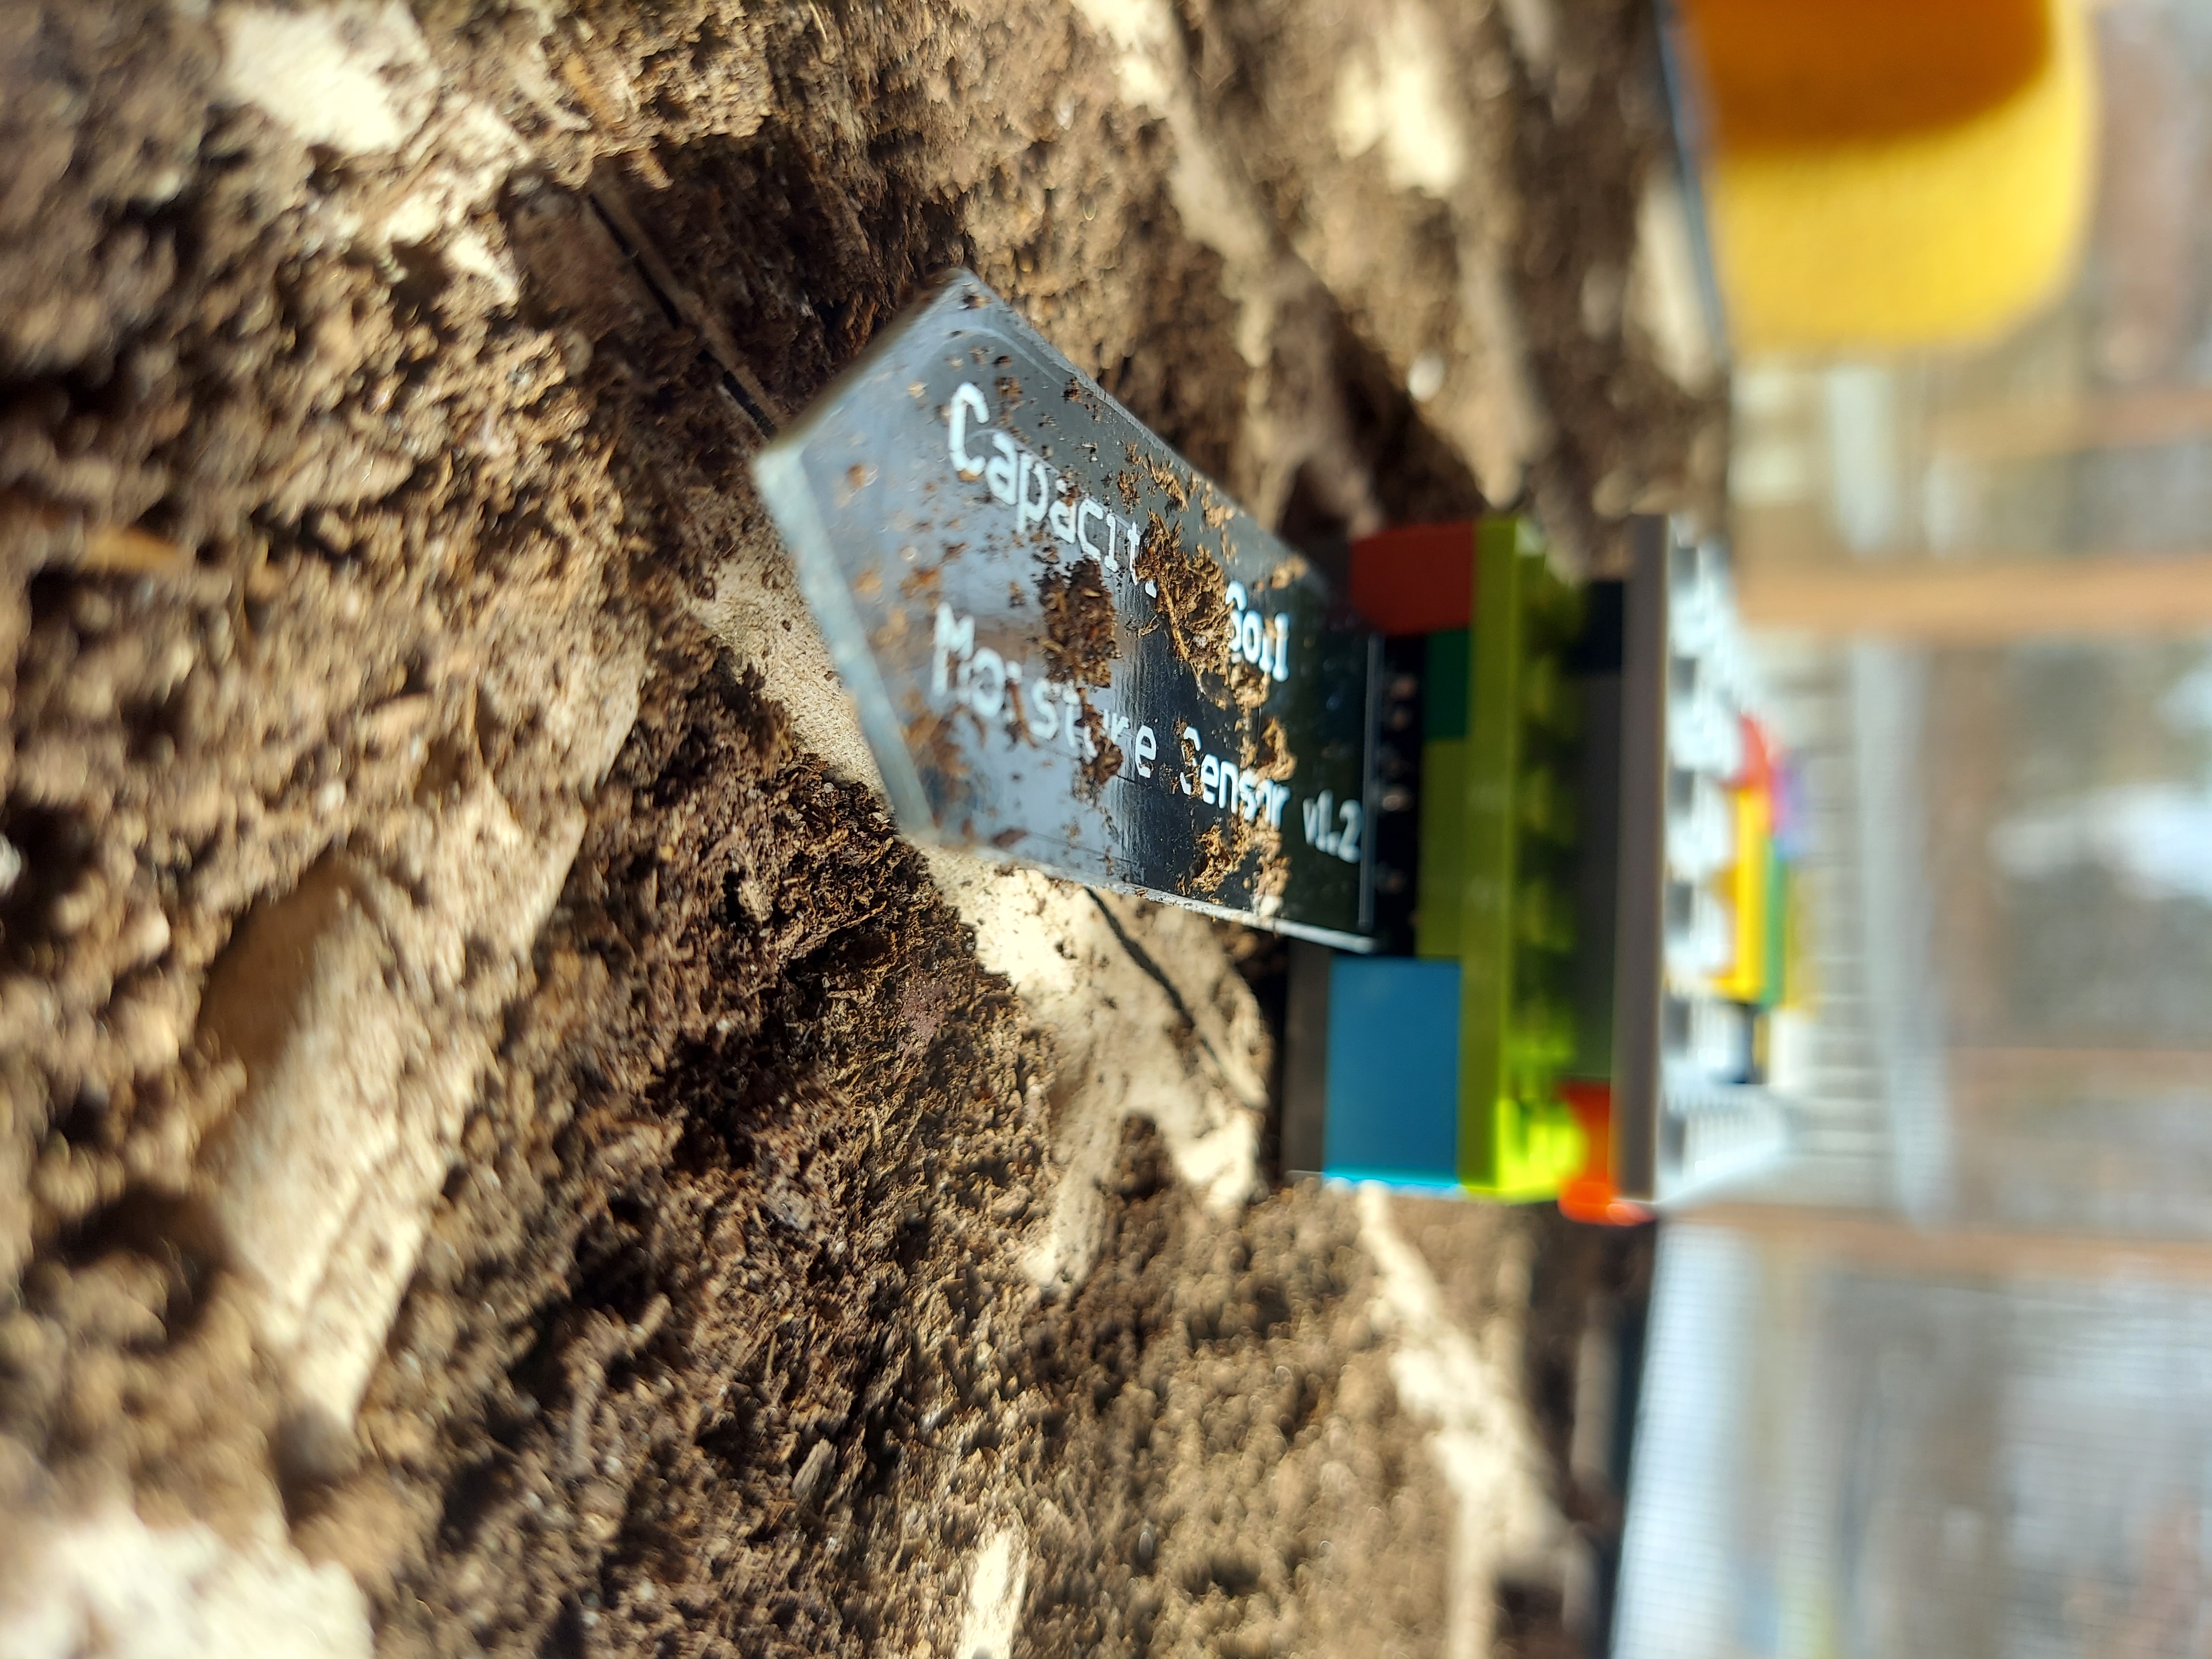
Rammed the sensor into the soil, Milliput putty holding things together.
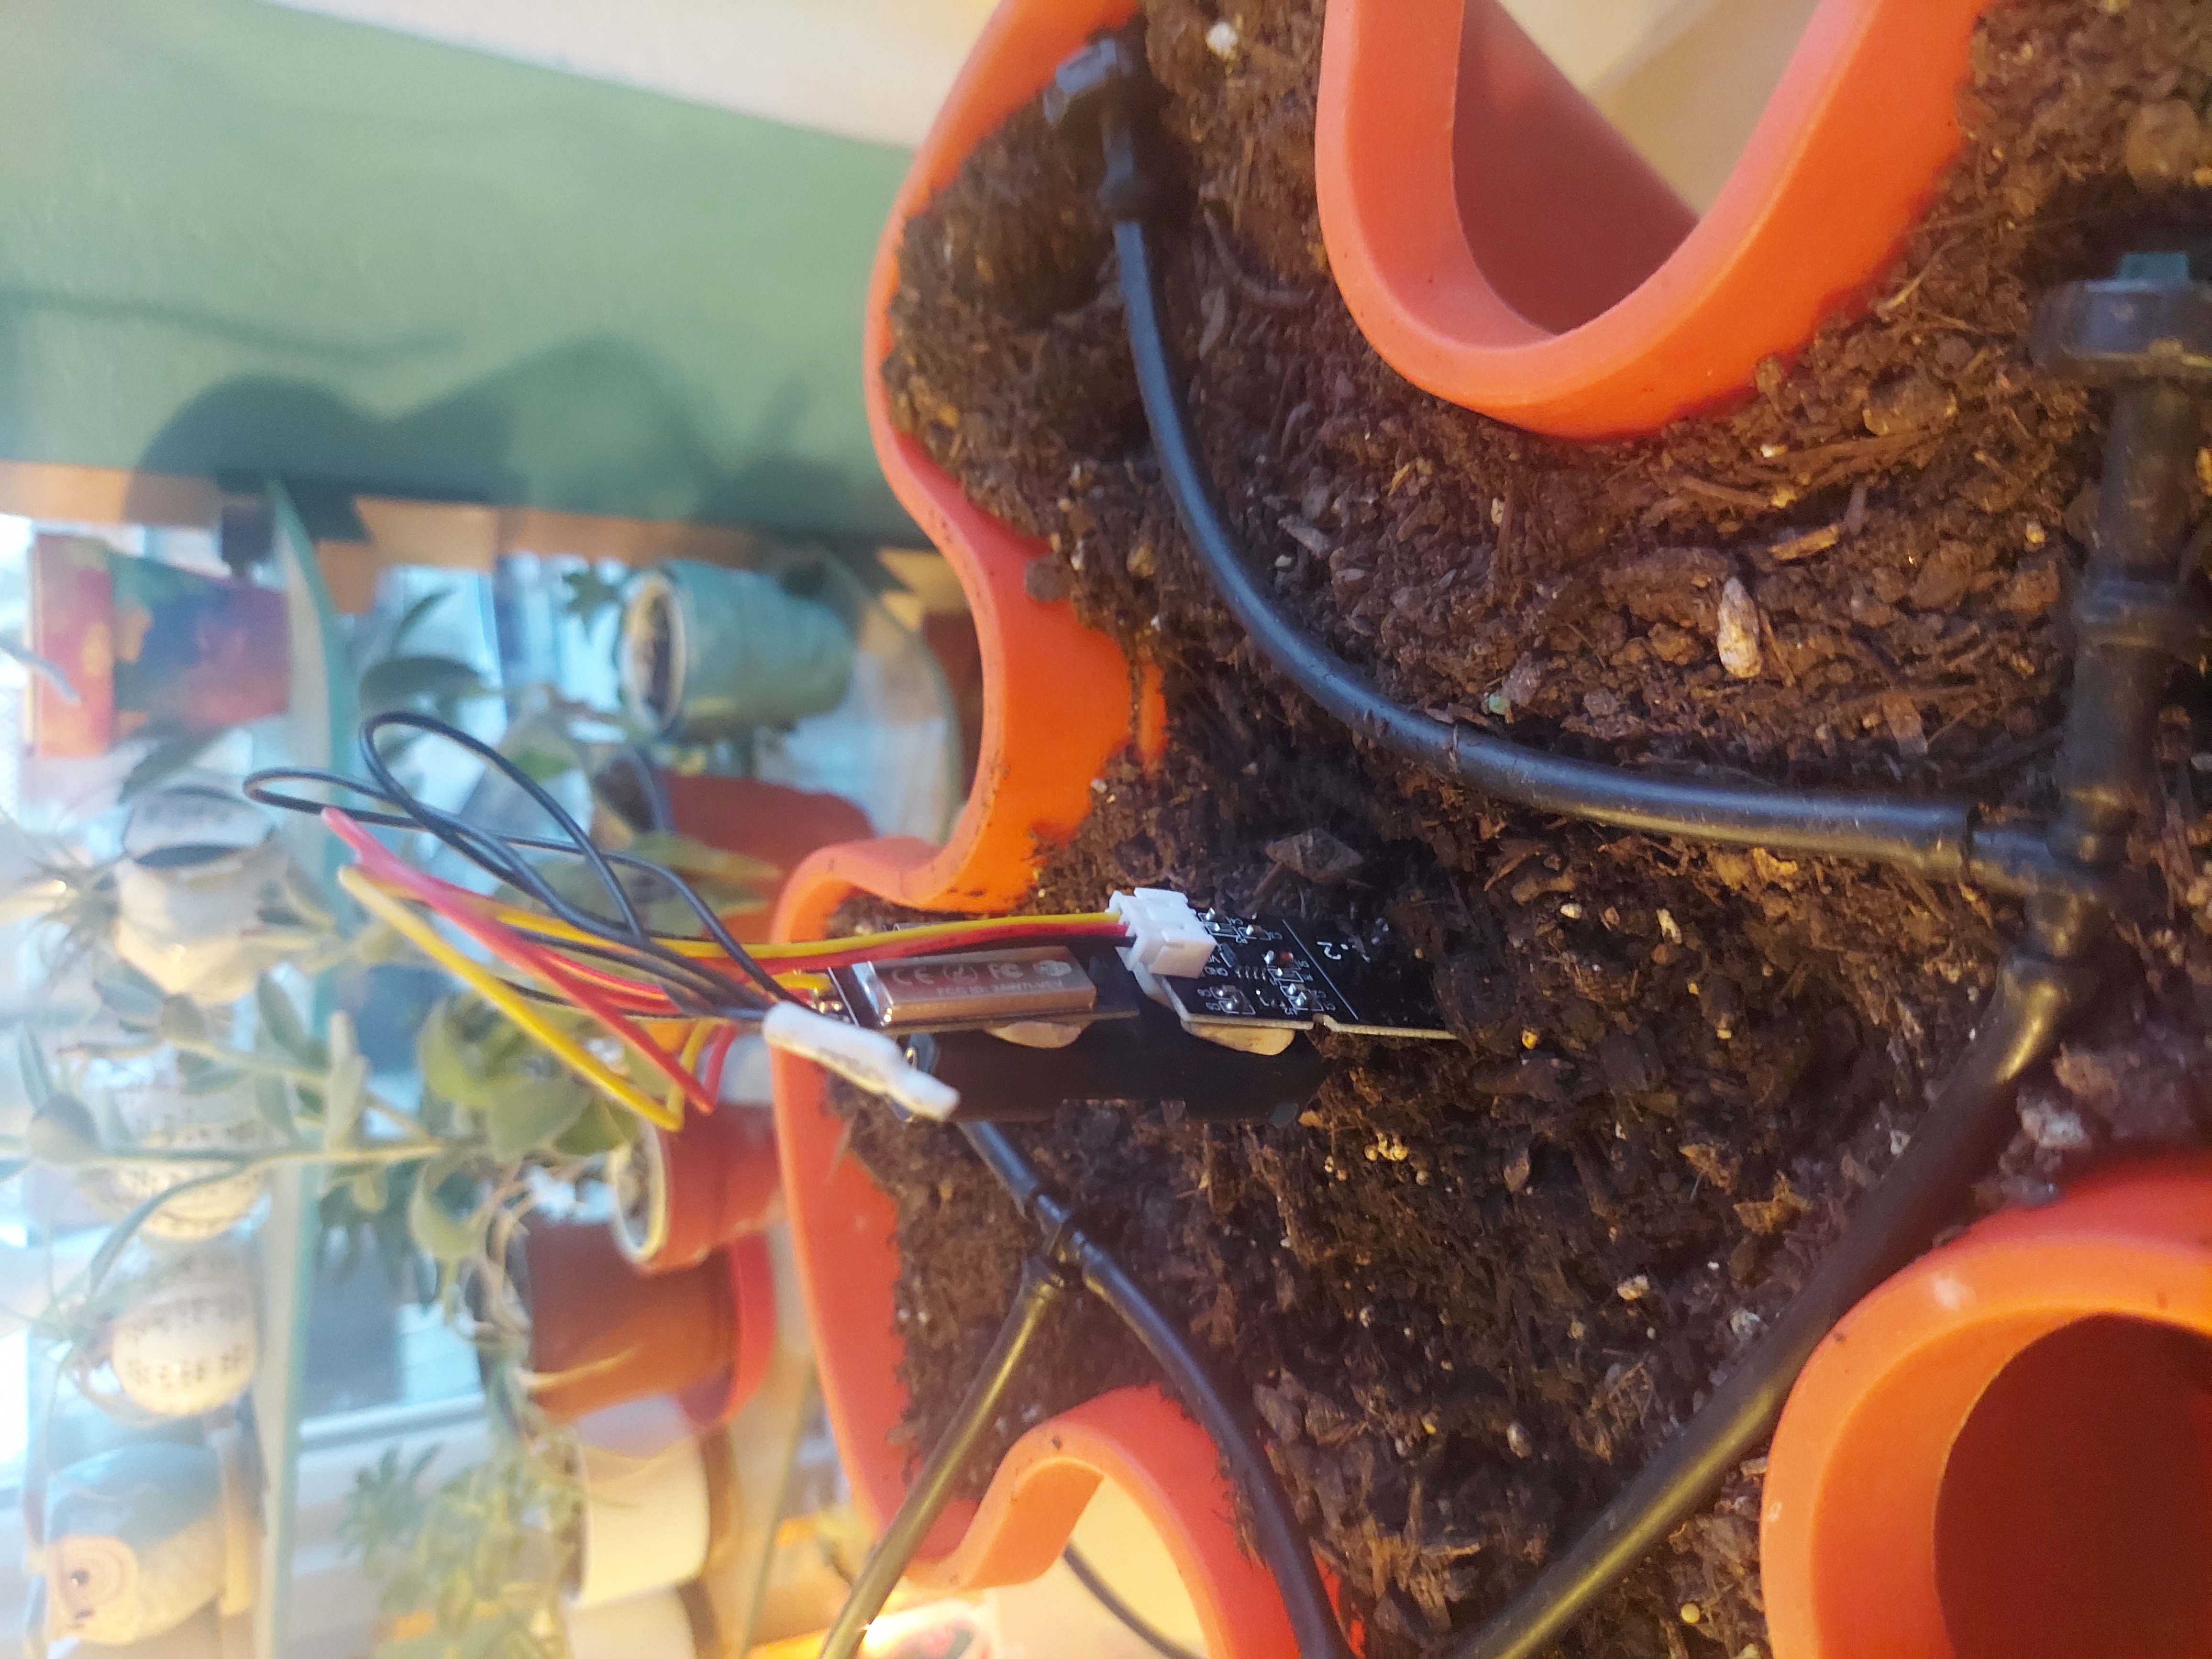
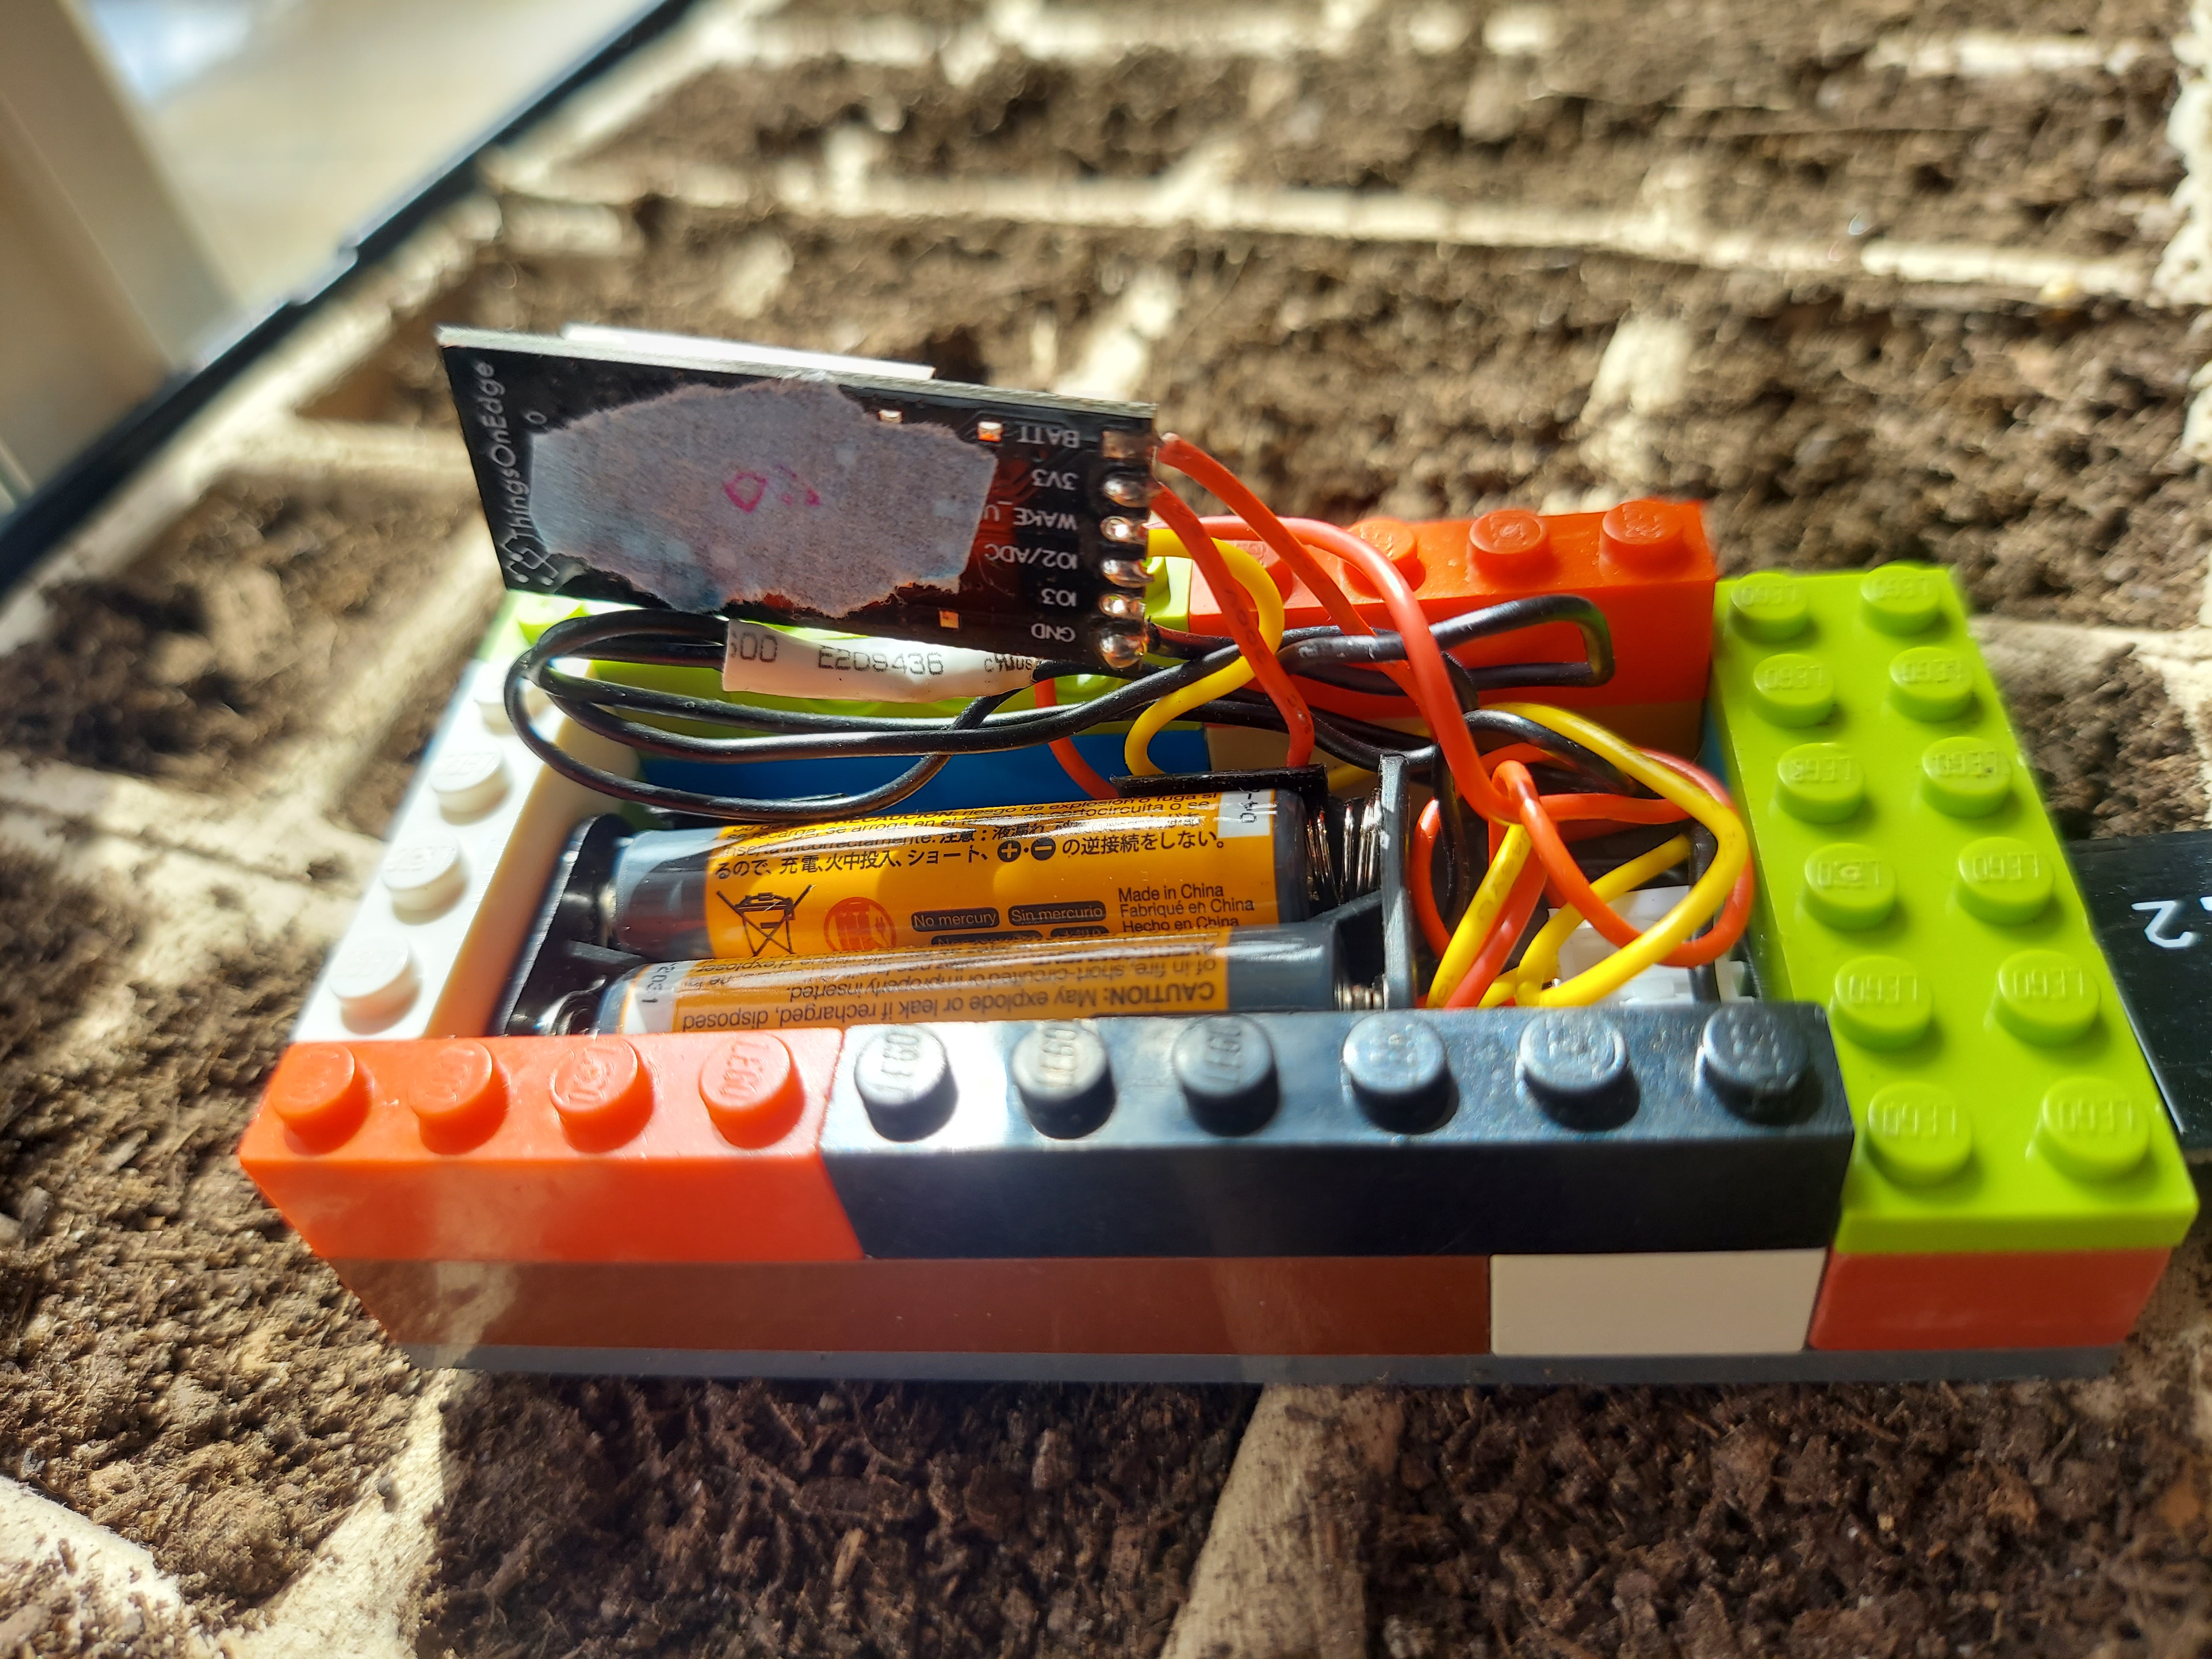
Then I got nervous about accidentally watering the Cricket, so I made a lego case. I don’t have a 3d-printer!

At one point, I set up Node-RED to do Proportional Integral Derivative (PID) to keep the soil at a target moisture. I was using node-red-contrib-pid and node-red-contrib-timeprop
But the emitters flow rate was too high for the soil – the soil wasn’t retaining moisture long enough for it to disperse out, so the base of the tower was flooding. I put automatic watering on the project back-burner, but the sensors are still in.
Bonus project description! Separately, I used another cricket plus a heater connected to a tasmotized-sonoff outlet to keep plants in the garage from freezing. See below, where sonoff_s31_lite_1 is the name of the switch that controls the heater. Target
temp of 38. I had to set a keep_alive of 3 minutes to keep the home-assistant
reading in sync with the switch (heater) state.
sensor:
  - platform: mqtt
    name: cricket1_temp
    state_topic: "/cricket1/temp"
    unit_of_measurement: '°C'
    device_class: temperature

climate:
  - platform: generic_thermostat
    unique_id: Garage Thermostat
    name: Garage
    heater: switch.sonoff_s31_lite_1
    initial_hvac_mode: "heat"
    min_cycle_duration:
      seconds: 5
    keep_alive:
      minutes: 3
    target_sensor: sensor.cricket1_temp
    min_temp: 34
    max_temp: 70
    target_temp: 38
    cold_tolerance: 2

Dave Eargle is a Senior Consultant in Cybersecurity Assessment at Carve Systems. More about the author →
This page is open source. Please help improve it.
Edit